My own challenge of the month was doing a water marble - not just any water marble, but marbled swirls. I seen a 60 second tutorial on Instagram (watched it twice) by IG@guylene325. Man, did she made this look easy... it was not. I spent hours, yes hours! trying to make those swirls...
I don't even want to remember how many polish combos I tried, and/or how many different cups I tried... or why on earth I was doing to myself... Despite all, I persevered, and I have some results to show. I did not just one, but two manicures. I even attempted doing a step-by-step tutorial, but I hated my results from the first attempt so much, I done it again, bit differently. Because I was not in right state of mind, I wanted to delete first attempt all together, and some little bead of sanity actually advised me to make a collage... that luckily escaped carnage...
I don't even want to remember how many polish combos I tried, and/or how many different cups I tried... or why on earth I was doing to myself... Despite all, I persevered, and I have some results to show. I did not just one, but two manicures. I even attempted doing a step-by-step tutorial, but I hated my results from the first attempt so much, I done it again, bit differently. Because I was not in right state of mind, I wanted to delete first attempt all together, and some little bead of sanity actually advised me to make a collage... that luckily escaped carnage...
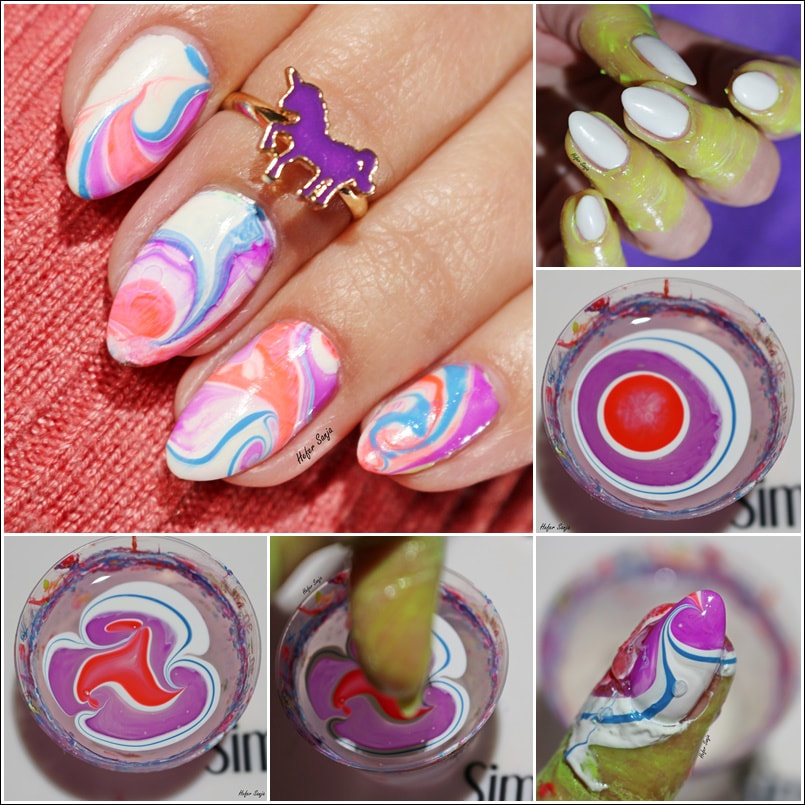
I started with very generous coating of liquid latex up to my second knuckle, just in case... I used neon yellow colored one from Born Pretty Store, and I have to tell you, I love this stuff because your fingers will not stick to each other causing them to fuse together.
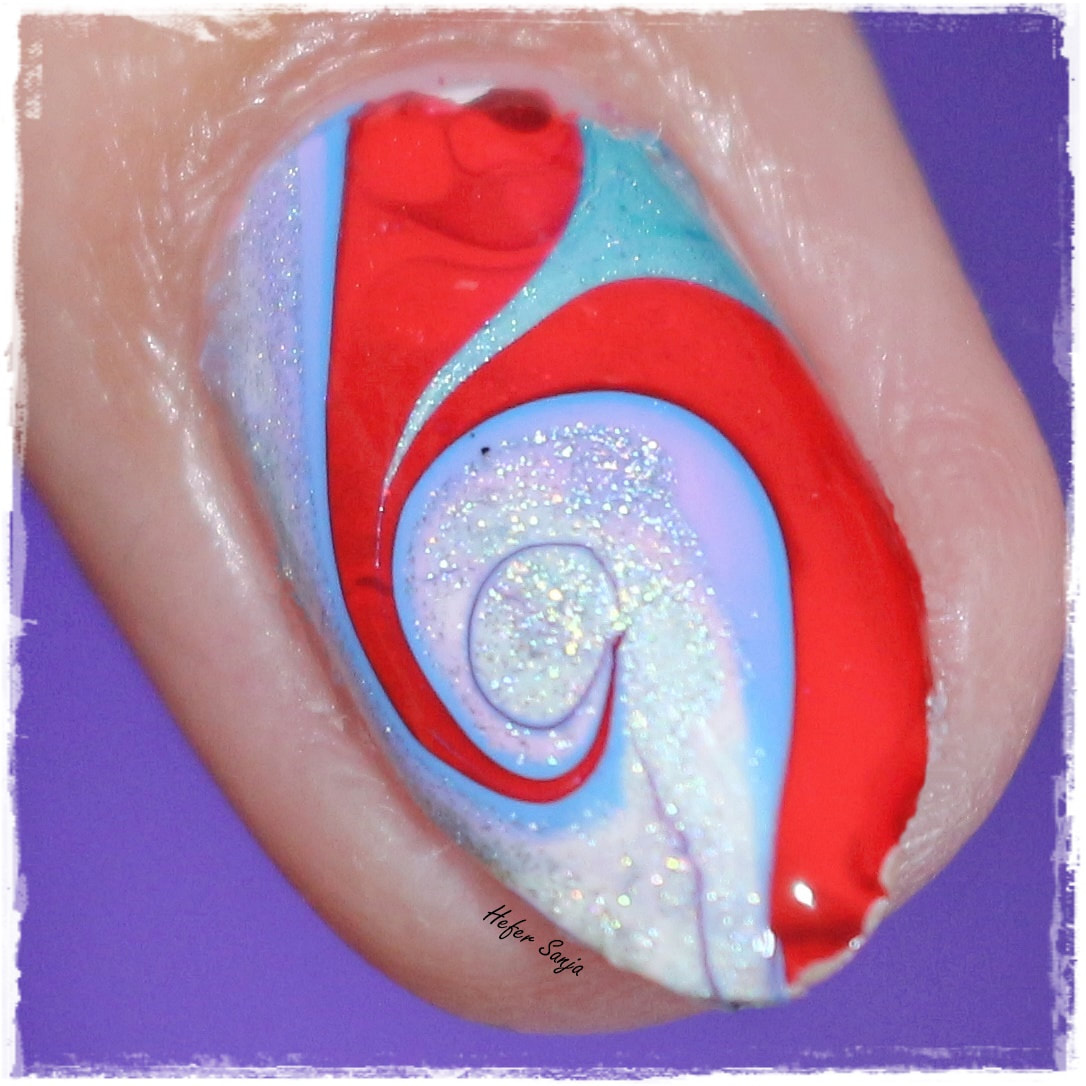
I made three swirls in my bullseye, just to give me an option which one to pick. I dipped, and came out with this perfection of the swirl. My triumph was not long lived - I accidentally double dipped the same nail, and I had to redo it... Biggest photo is the living proof of that disaster. I started editing photos, and hated this so much, I started deleting photos one by one... and then started on the next swirling marathon.
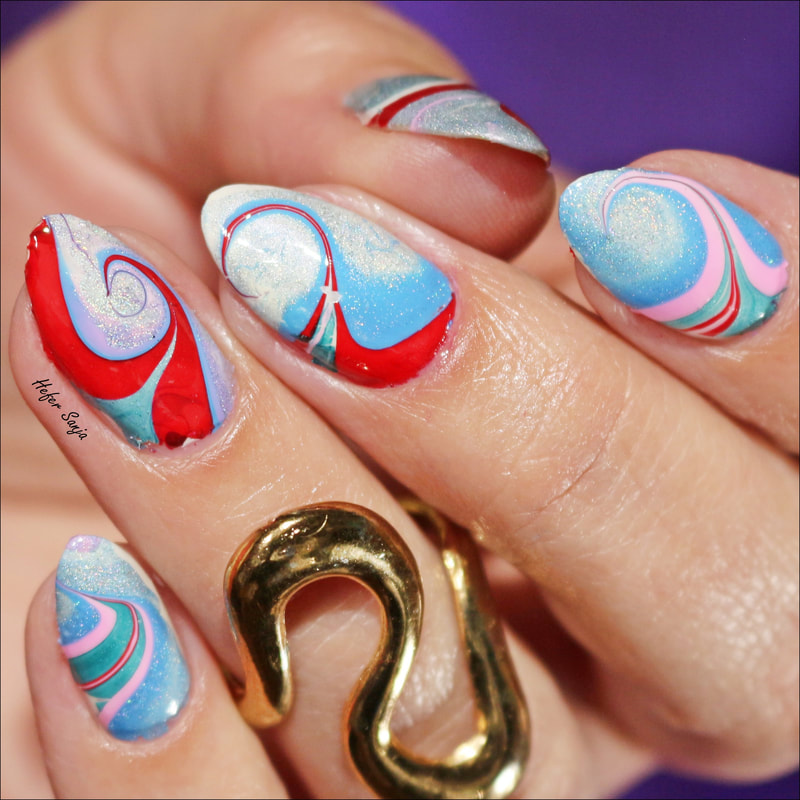
This time I smartened up. Instead of dipping my fingers into the muck, I pulled out my stamping heads, and start dipping them. Because they are all see through, I could pick exactly the part of design I wanted. I let the decals dry a bit - well until I have enough of decals + few spares just in case which took some time and dedication.
Then I just applied them directly onto the nail using the clear stamper, and as you can see, I was able to position them pretty good. This method was less messy and so much easier to control outcome.
I was so proud of this marbling success, I decided to stop while I am still ahead. Mission completed. I have to admit, swirls I seen in tutorial were way superior to mine, but in my defence, I did not marble in months, and my marbling leaves lots to be desired at its best.
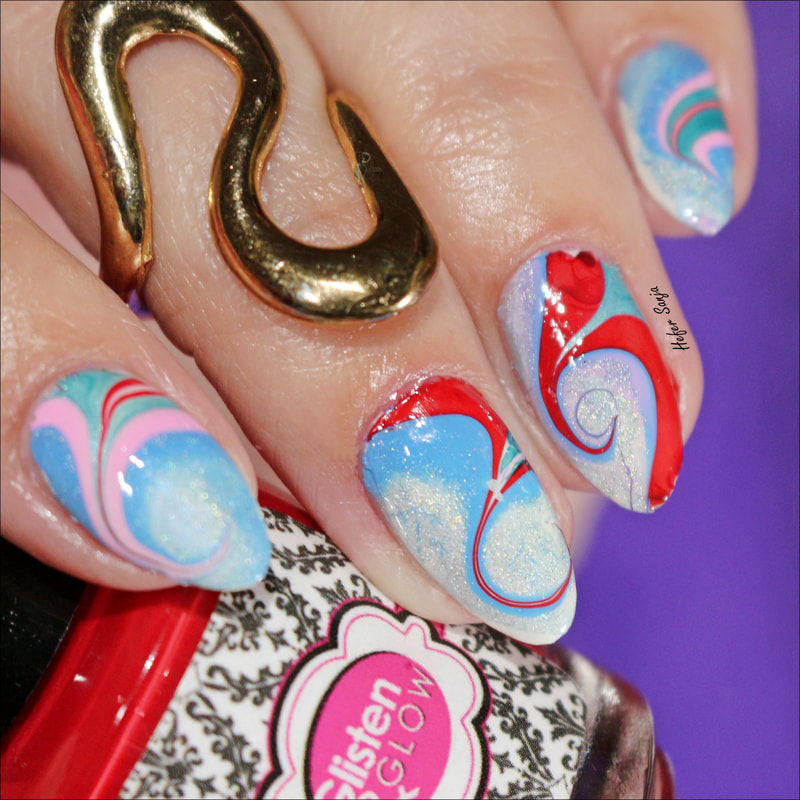
For this marble, I used following polishes:
Madam Glam - Gelementary - Arabella (lilac), Glisten & Glow - Apple picking & Antiquing (red), El Corazon - Japanese Silk (shimmery teal), Cover Girl - Buxom Blue (light blue) and La Femme - Preciosa (holographic grey).
Also used: Marbling tool from Born Pretty Store, dish for water, room temperature bottled water and lots of paper towels to wipe my mess...
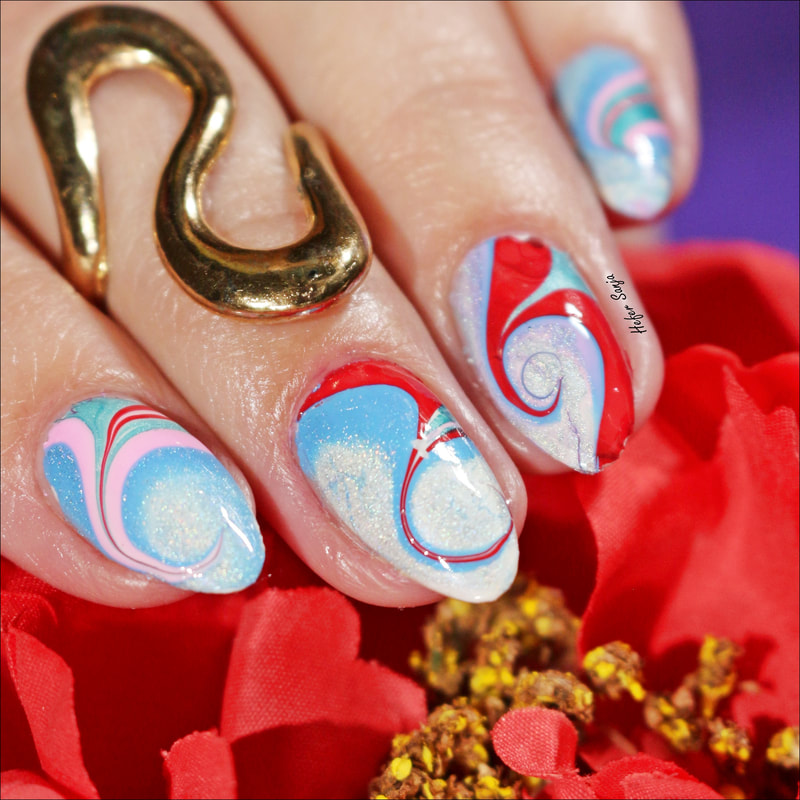
Interesting enough, I used the same polishes, in the same sequence, and yet as you will see, results were interestingly different. It was 50/50 split in decals, so I decided to use the both versions.
I was so impressed with this, I decided not to stamp over. All this manicure needed was a top coat and I was done.
If you read to here, you are the star, and I wish you awesome day.
Cheers!
I made three swirls in my bullseye, just to give me an option which one to pick. I dipped, and came out with this perfection of the swirl. My triumph was not long lived - I accidentally double dipped the same nail, and I had to redo it... Biggest photo is the living proof of that disaster. I started editing photos, and hated this so much, I started deleting photos one by one... and then started on the next swirling marathon.
This time I smartened up. Instead of dipping my fingers into the muck, I pulled out my stamping heads, and start dipping them. Because they are all see through, I could pick exactly the part of design I wanted. I let the decals dry a bit - well until I have enough of decals + few spares just in case which took some time and dedication.
Then I just applied them directly onto the nail using the clear stamper, and as you can see, I was able to position them pretty good. This method was less messy and so much easier to control outcome.
I was so proud of this marbling success, I decided to stop while I am still ahead. Mission completed. I have to admit, swirls I seen in tutorial were way superior to mine, but in my defence, I did not marble in months, and my marbling leaves lots to be desired at its best.
For this marble, I used following polishes:
Madam Glam - Gelementary - Arabella (lilac), Glisten & Glow - Apple picking & Antiquing (red), El Corazon - Japanese Silk (shimmery teal), Cover Girl - Buxom Blue (light blue) and La Femme - Preciosa (holographic grey).
Also used: Marbling tool from Born Pretty Store, dish for water, room temperature bottled water and lots of paper towels to wipe my mess...
Interesting enough, I used the same polishes, in the same sequence, and yet as you will see, results were interestingly different. It was 50/50 split in decals, so I decided to use the both versions.
I was so impressed with this, I decided not to stamp over. All this manicure needed was a top coat and I was done.
If you read to here, you are the star, and I wish you awesome day.
Cheers!