I have last two items from Born Pretty Store lovely Vivian sent me for review, and I will do them together.
First is Item #34556, Silicone mat 28x21 cm.
First is Item #34556, Silicone mat 28x21 cm.
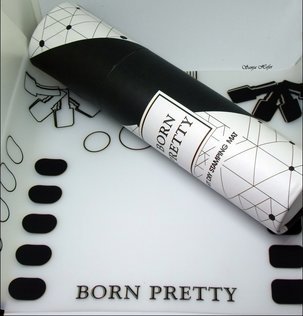 |  |
Mat came in rolled in above box, and you can store it in it and have it handy if you are going to do your nails away from home. On the flat surface lays nice and flat, and my light box was not big enough to place this mat flat for the photo op...
Mine will not go back in the box, as I plan to use it all the time. This is really great product that will protect your table surface from nail polish stains and from nail polish remover... I wish I had this years back, before I destroyed my table.
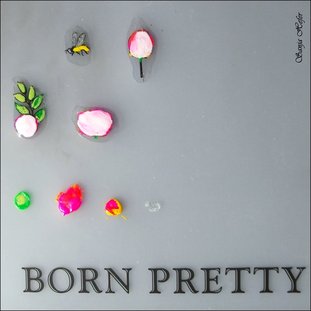
You can use it as a designated spot for nail polishing, and had no fear that you will ruin surface you are working on, but also to mix your colors, make decals ( as I did on the photo above. On that photo, little blobs of color on the bottom are blobs of nail polish I used to color in my decals... as you can see, I did some mixing there too. This is great when you do full nails decals, because you can stamp as many as you want, and then just pick the best looking one.
Mat has white and black surfaces, and if you are into stamping, you can see how well polish will stamp over dark/light color before you even do it on your nails, or you can check color combination without ruining what is on your nails at the moment.
Mat is really easy to clean. You can clean it with cotton and nail polish remover, but if you are anything like me, that will not last long... I can not stand any streaks... Some polishes do stain more than others...
My preferred method is actually leaving polish (or acrylic paint for that matter) to completely dry on the mat, and then you can just 'scrape' it off with an orange stick, or - as I do, use piece of tape to remove all polish residue.
Next item I will show you today is Item # 38418, Haronouta L034, Line flower pattern stamping plate.
Mine will not go back in the box, as I plan to use it all the time. This is really great product that will protect your table surface from nail polish stains and from nail polish remover... I wish I had this years back, before I destroyed my table.
You can use it as a designated spot for nail polishing, and had no fear that you will ruin surface you are working on, but also to mix your colors, make decals ( as I did on the photo above. On that photo, little blobs of color on the bottom are blobs of nail polish I used to color in my decals... as you can see, I did some mixing there too. This is great when you do full nails decals, because you can stamp as many as you want, and then just pick the best looking one.
Mat has white and black surfaces, and if you are into stamping, you can see how well polish will stamp over dark/light color before you even do it on your nails, or you can check color combination without ruining what is on your nails at the moment.
Mat is really easy to clean. You can clean it with cotton and nail polish remover, but if you are anything like me, that will not last long... I can not stand any streaks... Some polishes do stain more than others...
My preferred method is actually leaving polish (or acrylic paint for that matter) to completely dry on the mat, and then you can just 'scrape' it off with an orange stick, or - as I do, use piece of tape to remove all polish residue.
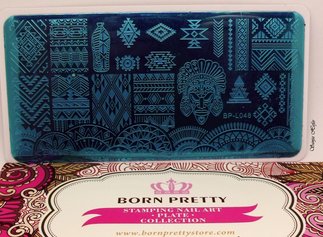
Next item I will show you today is Item # 38418, Haronouta L034, Line flower pattern stamping plate.
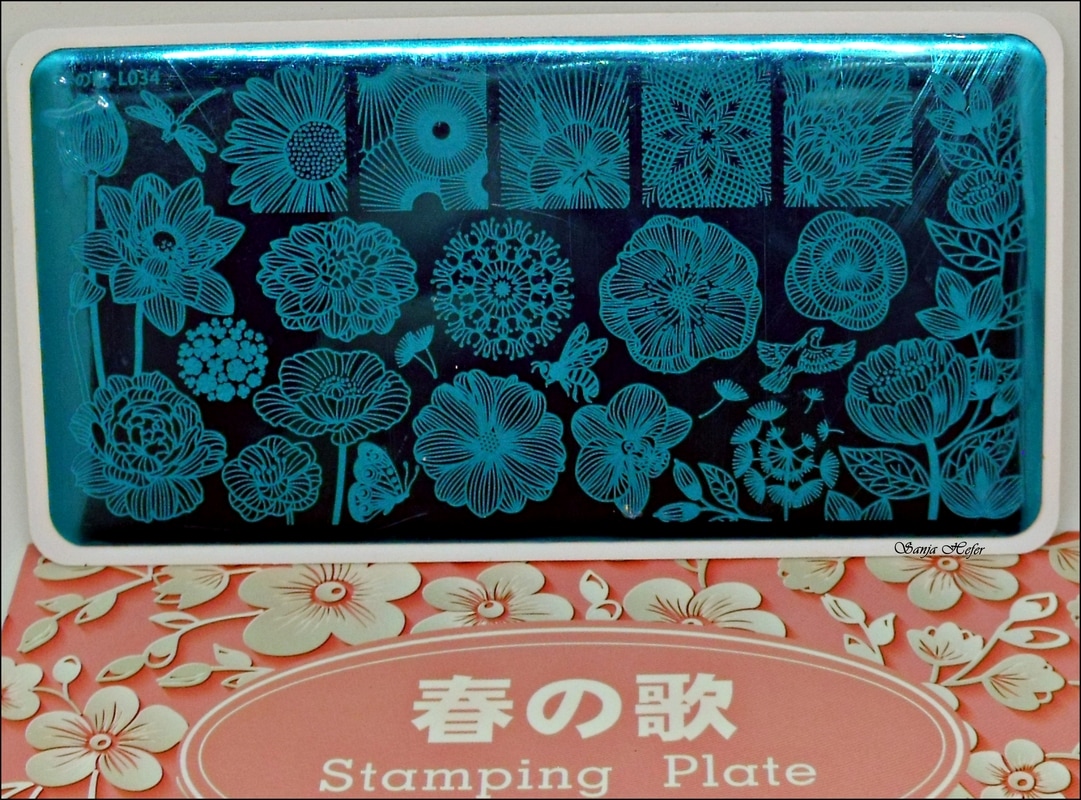
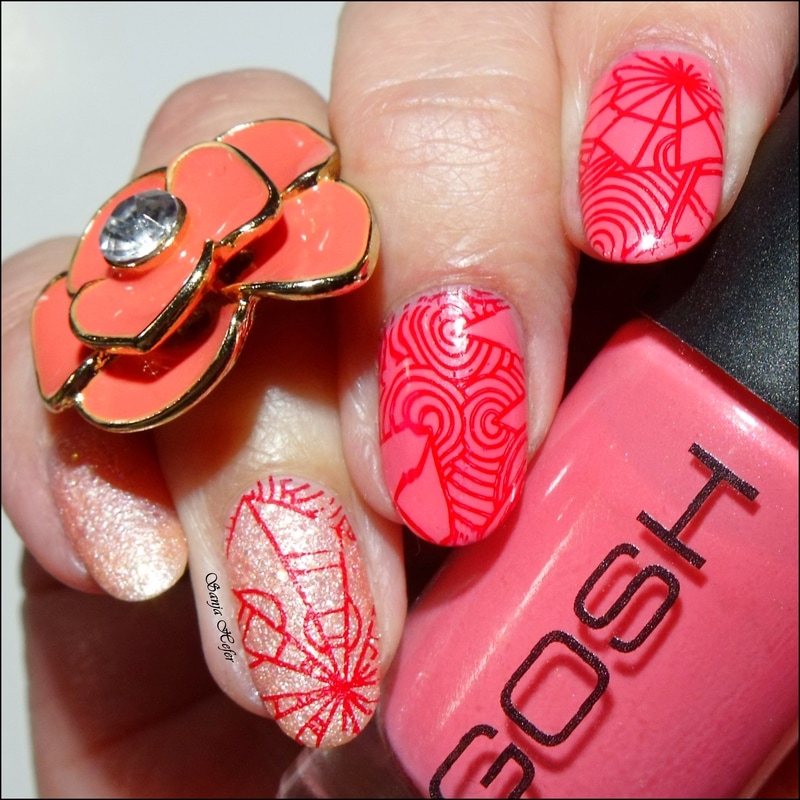
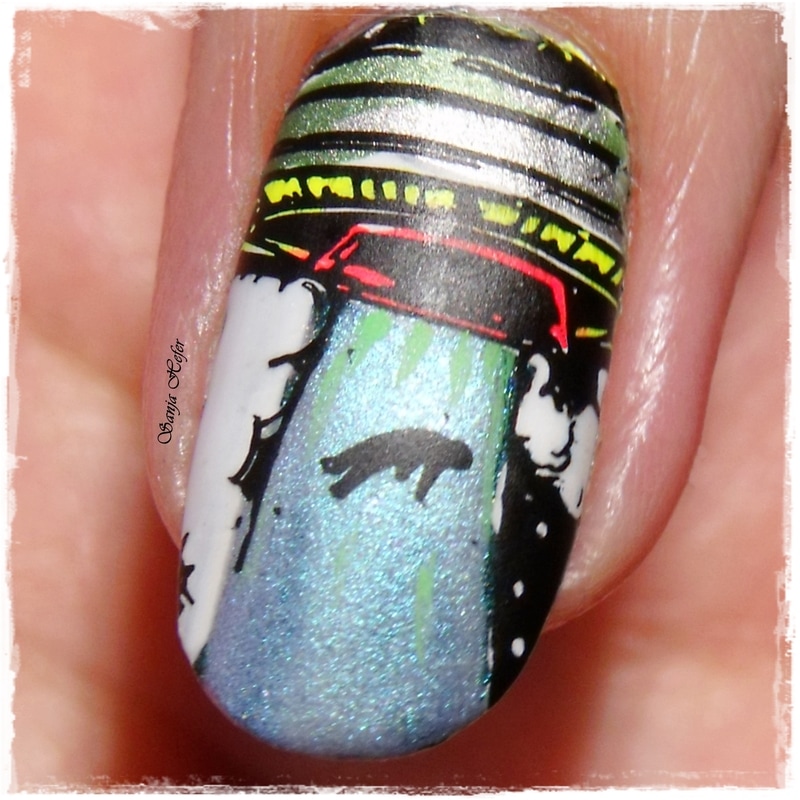
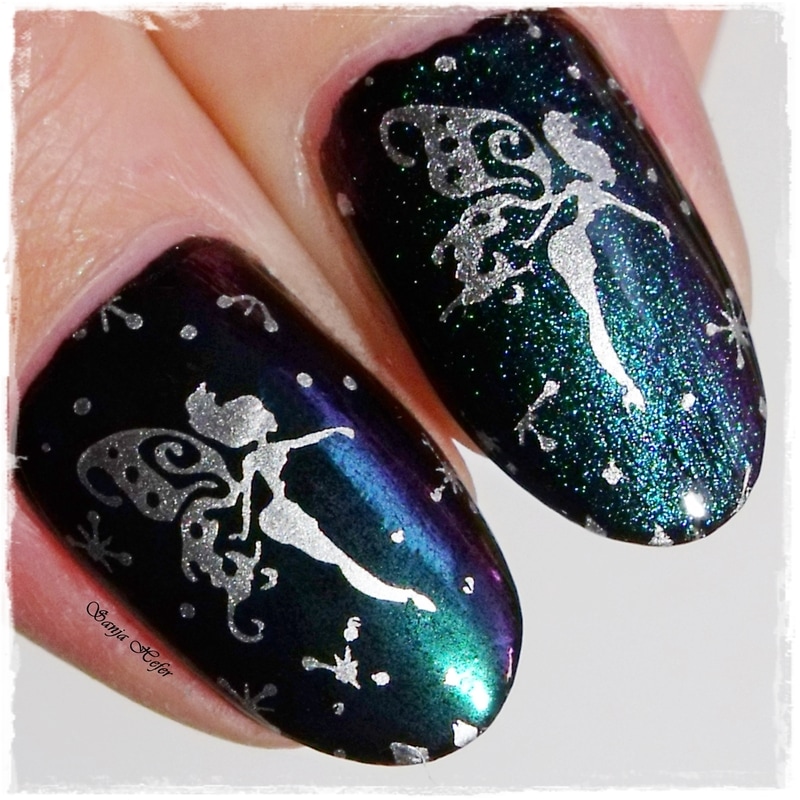
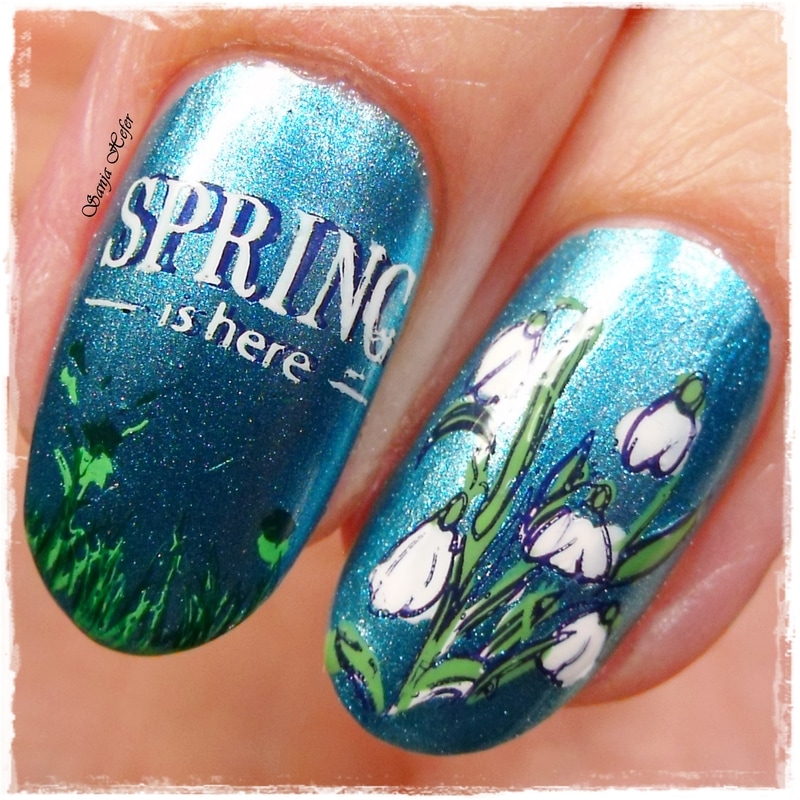
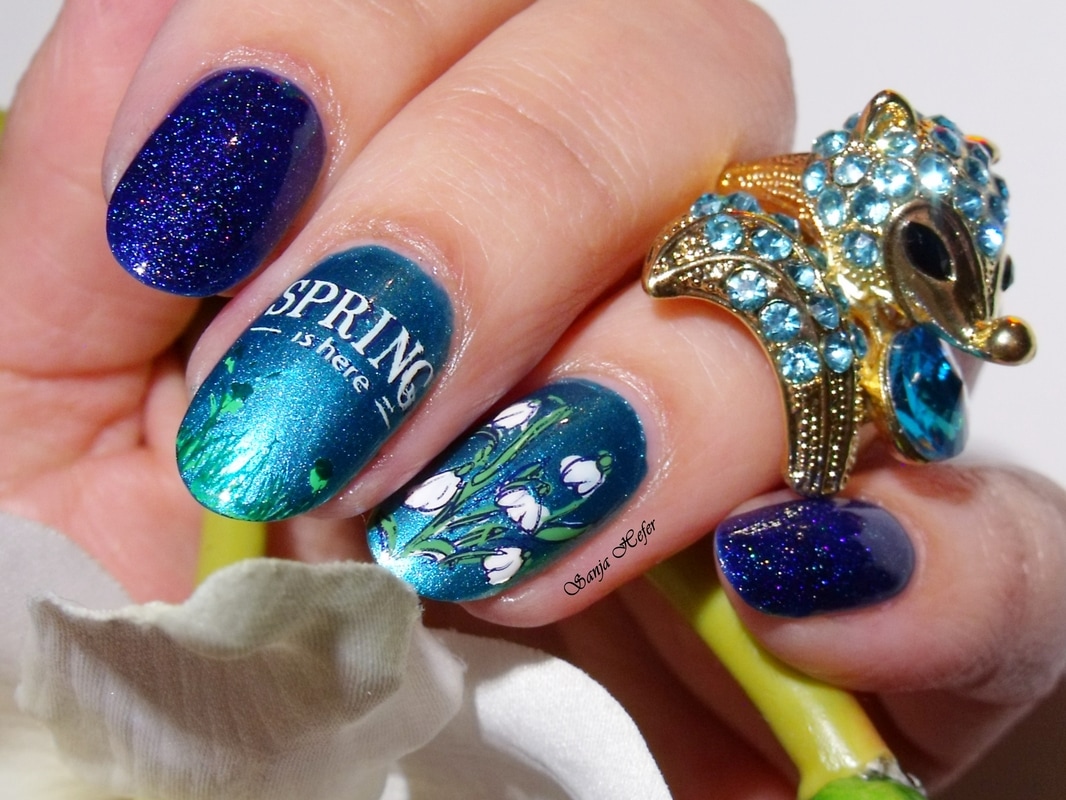
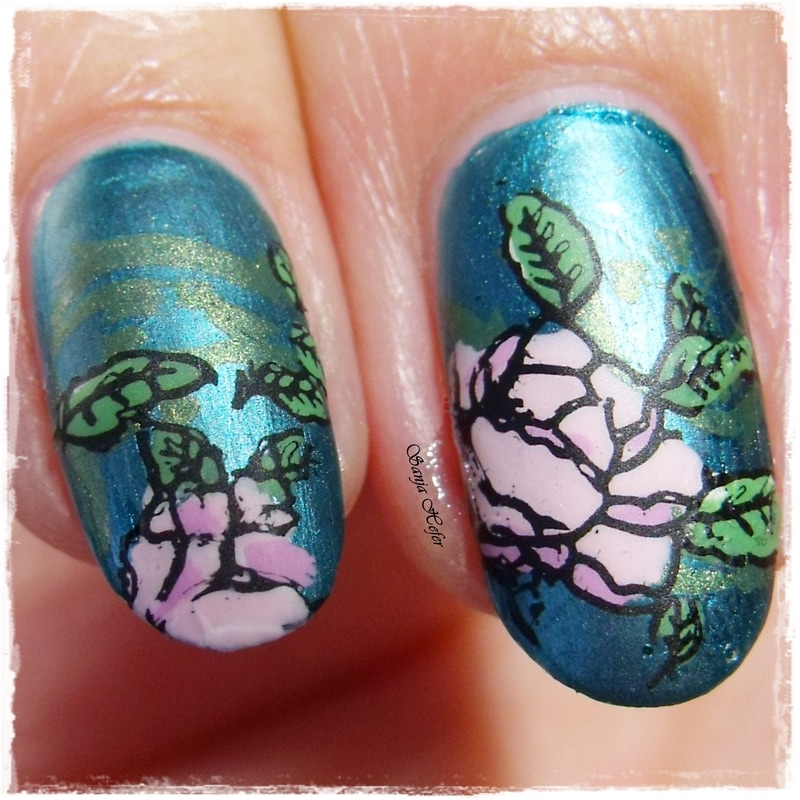
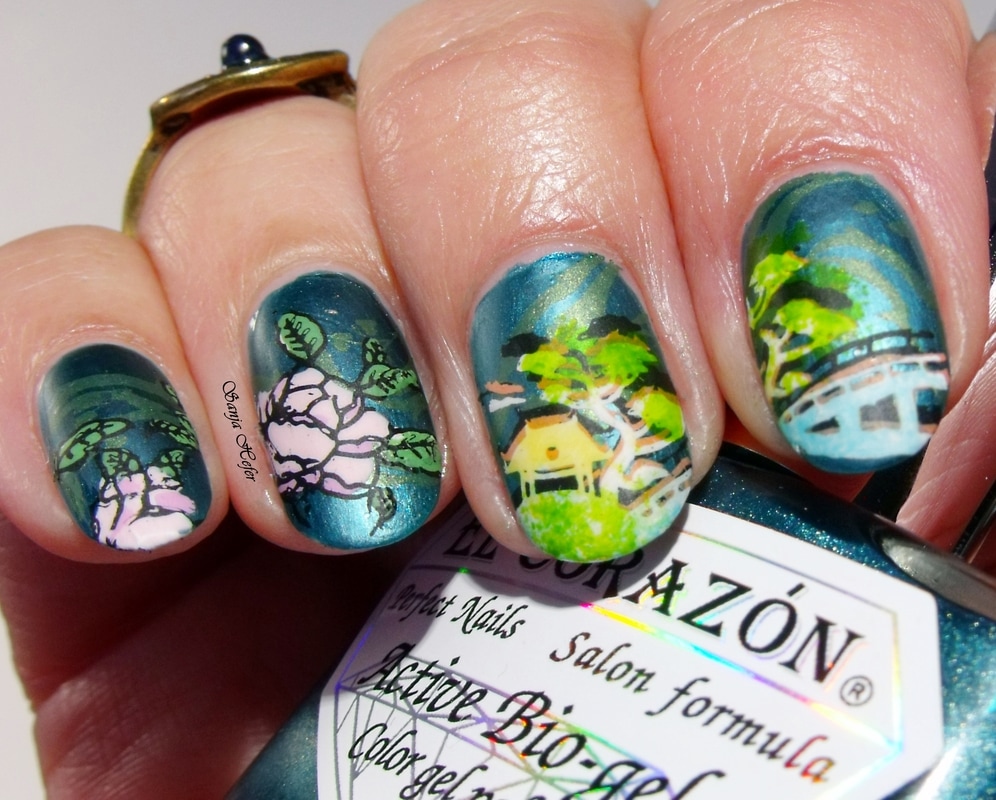
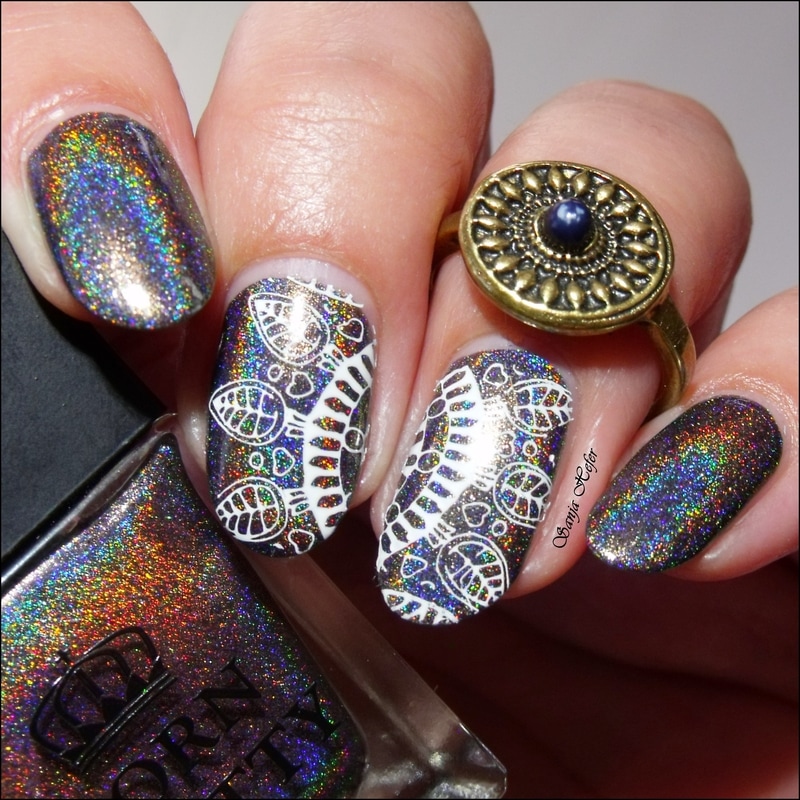
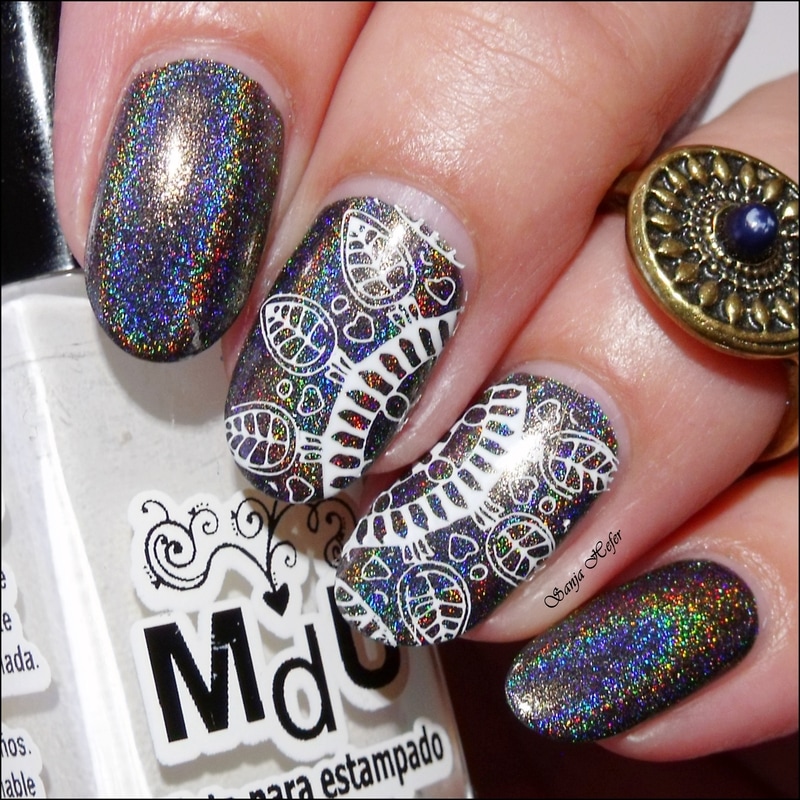
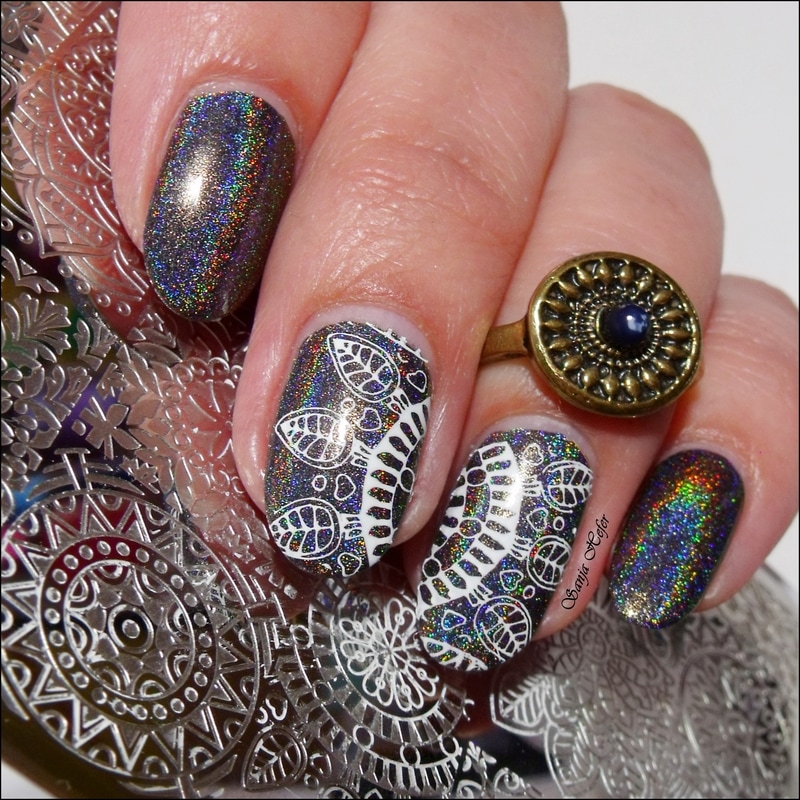
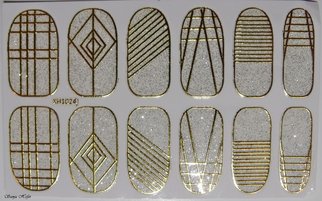
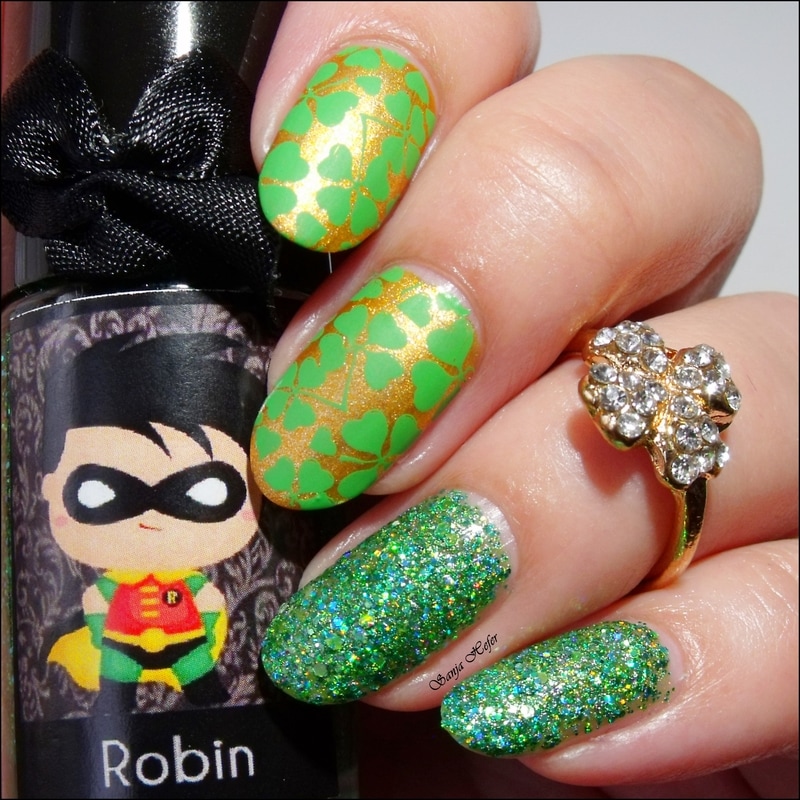
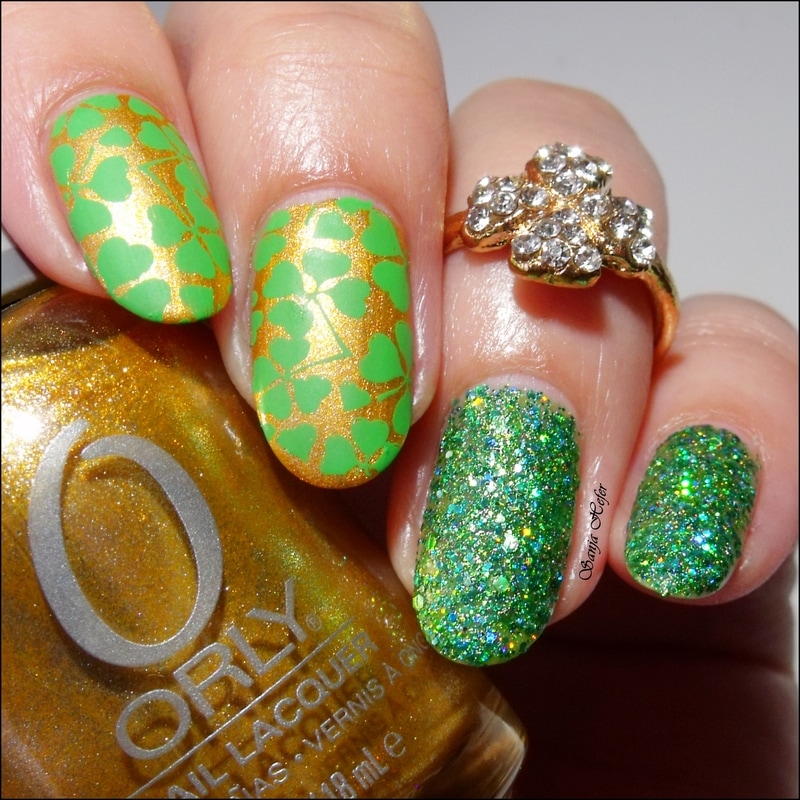
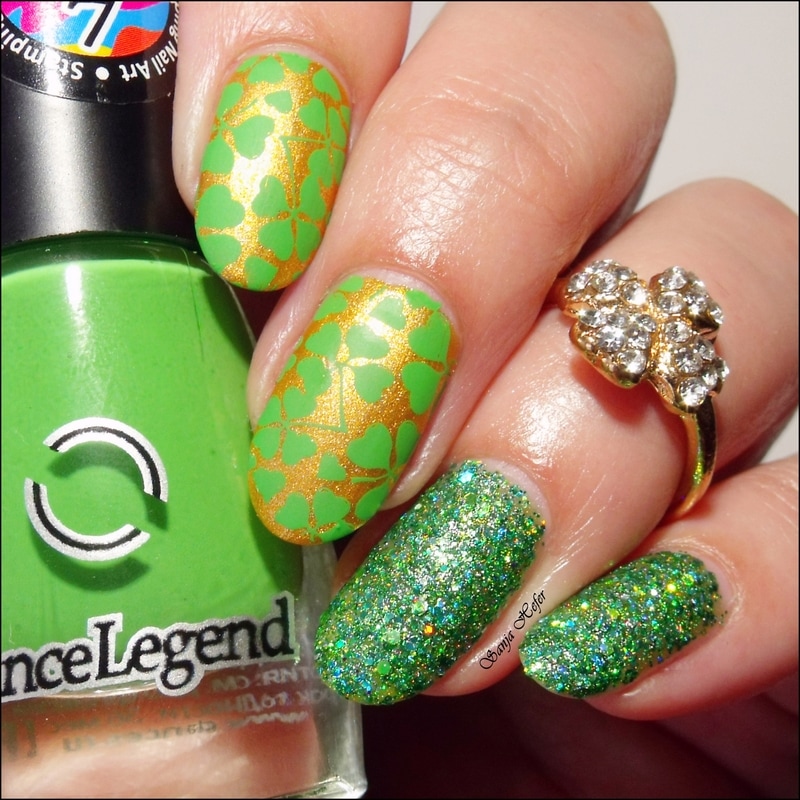
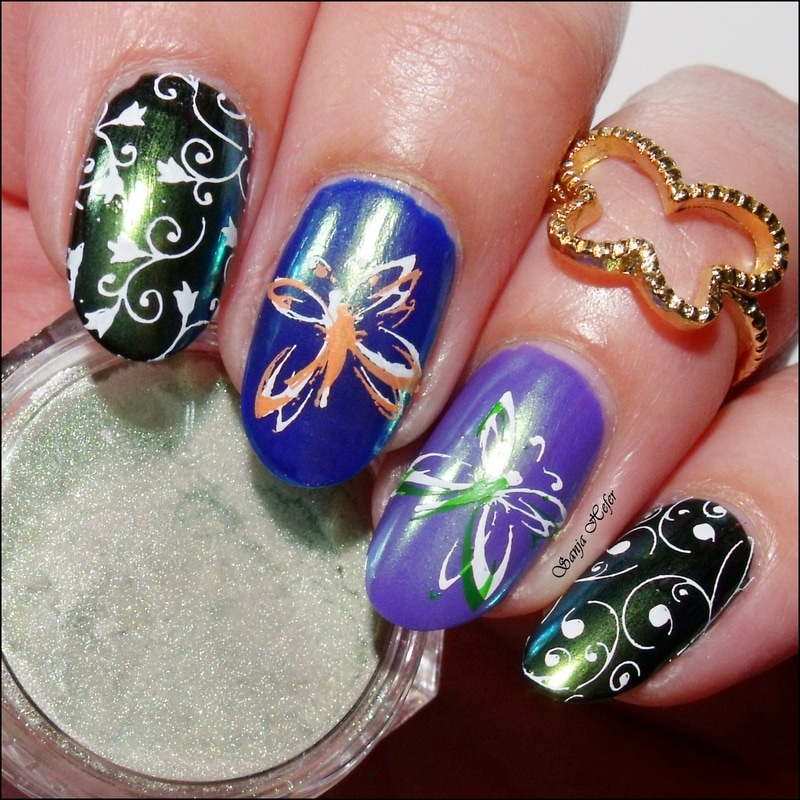
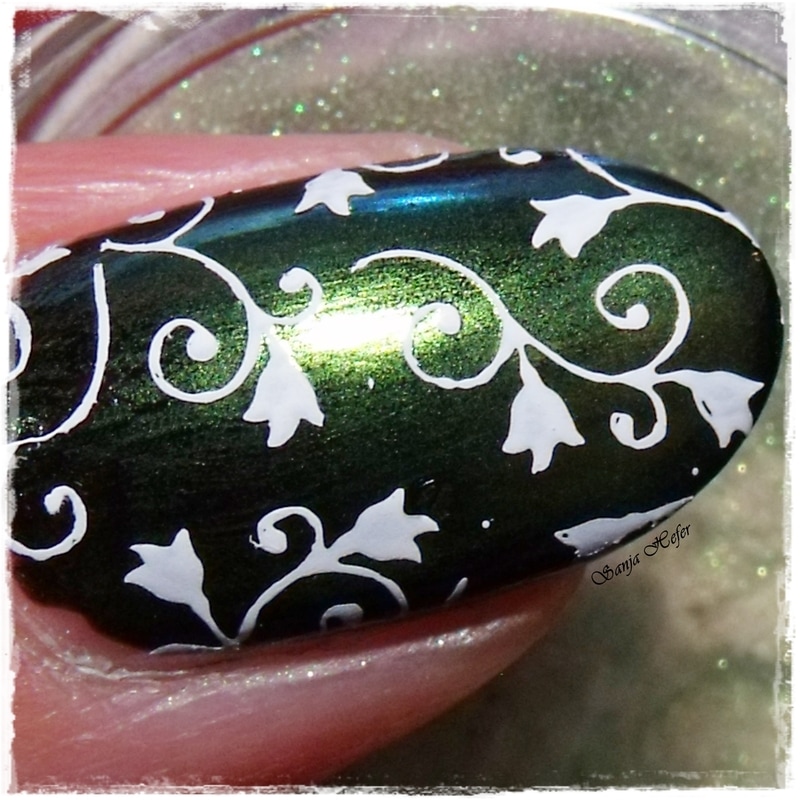
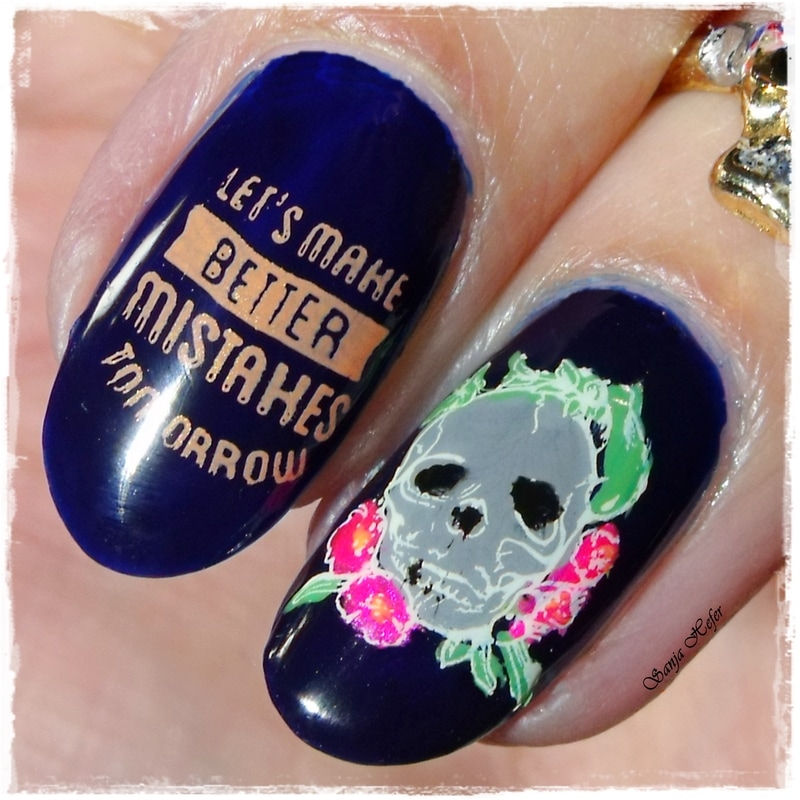
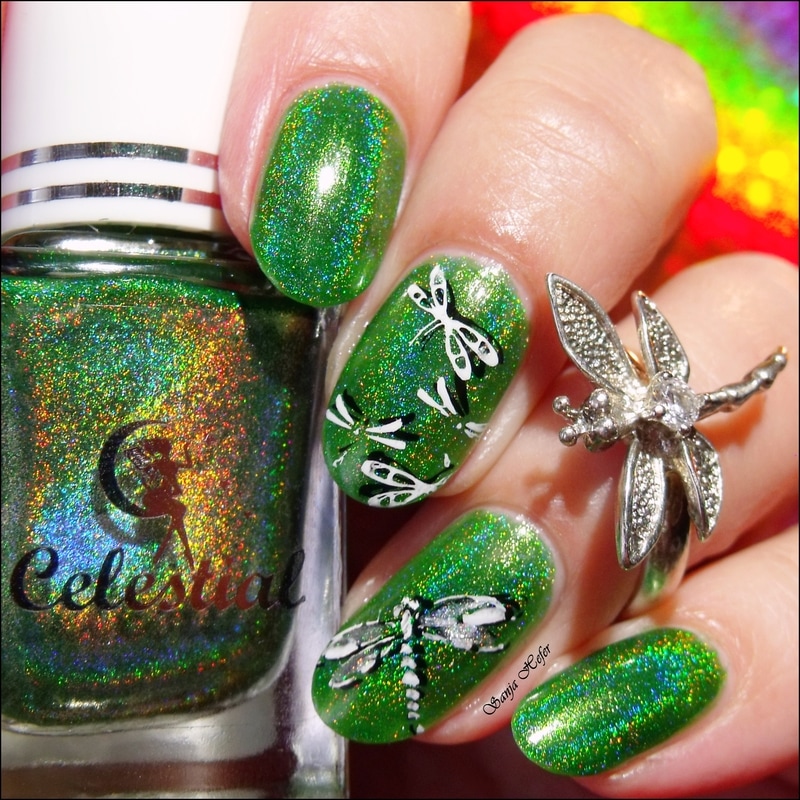
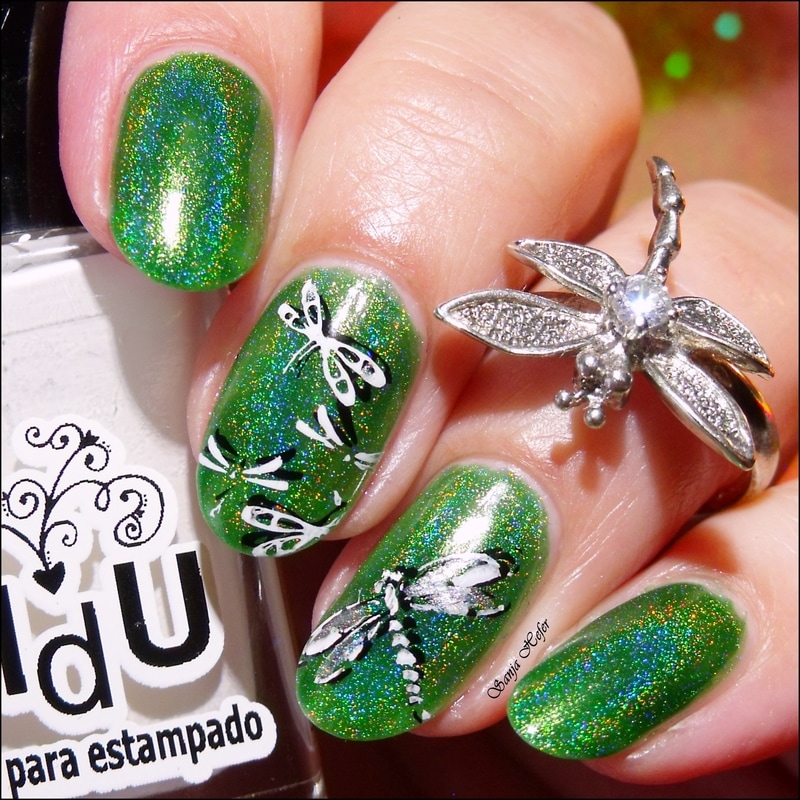
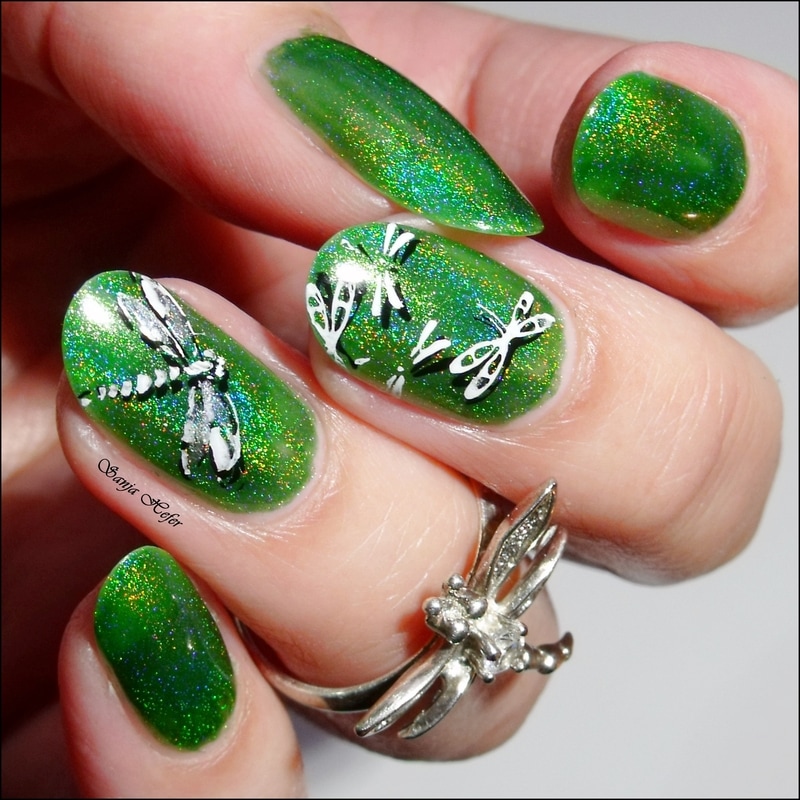
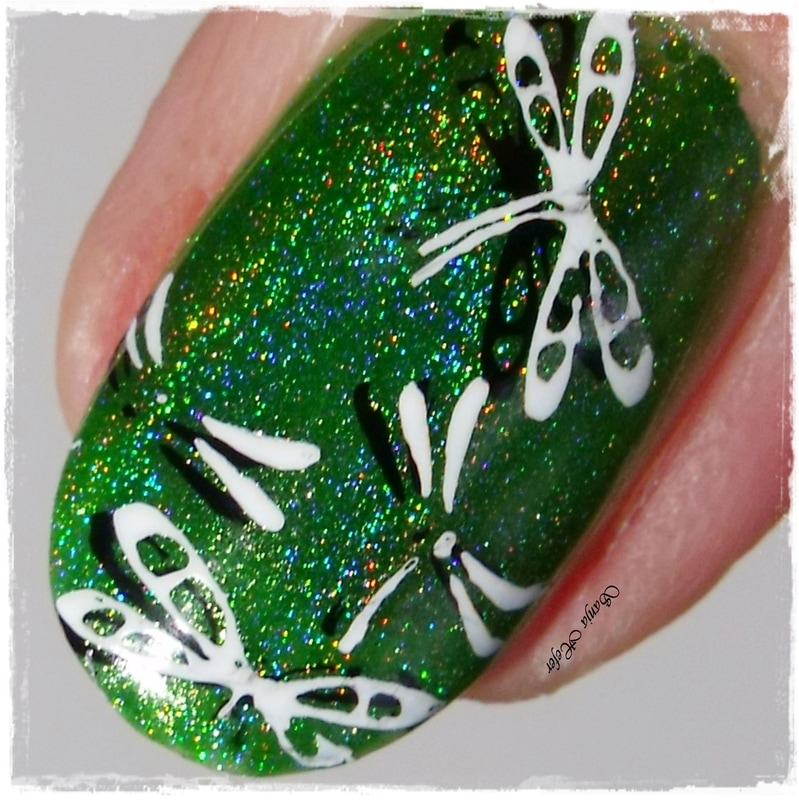
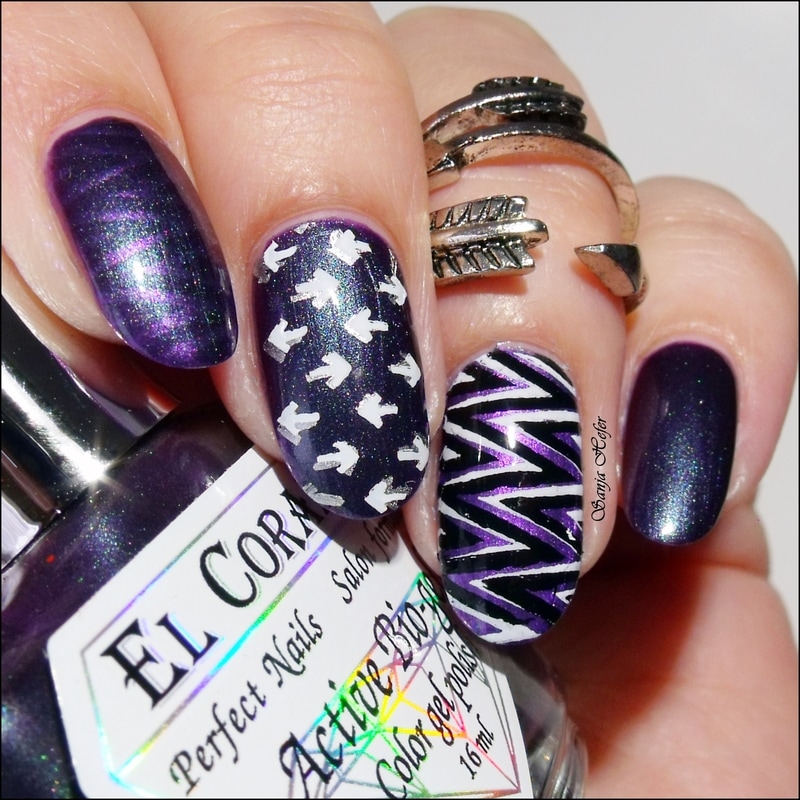
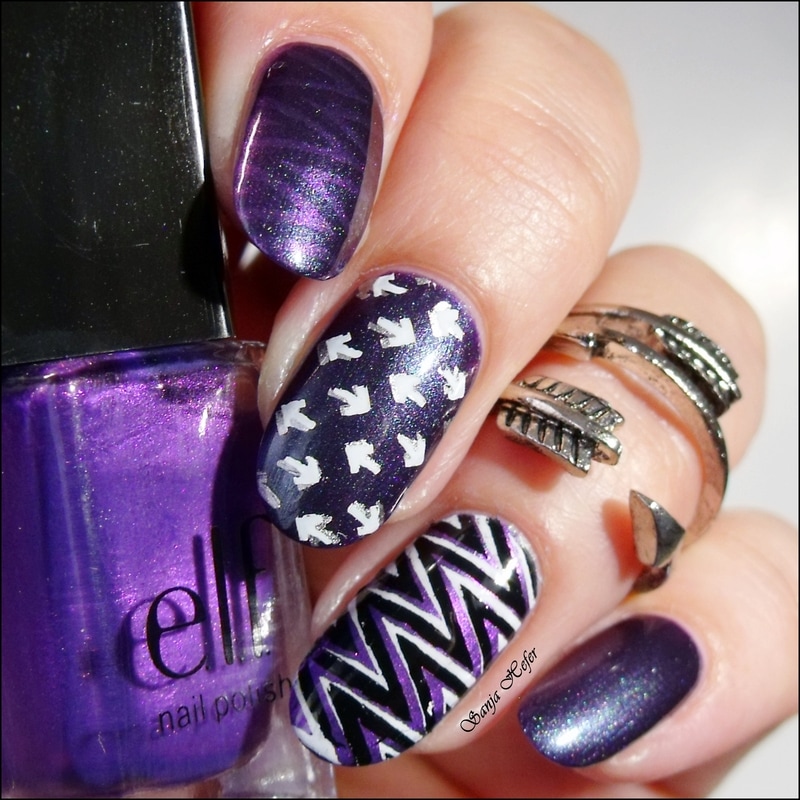
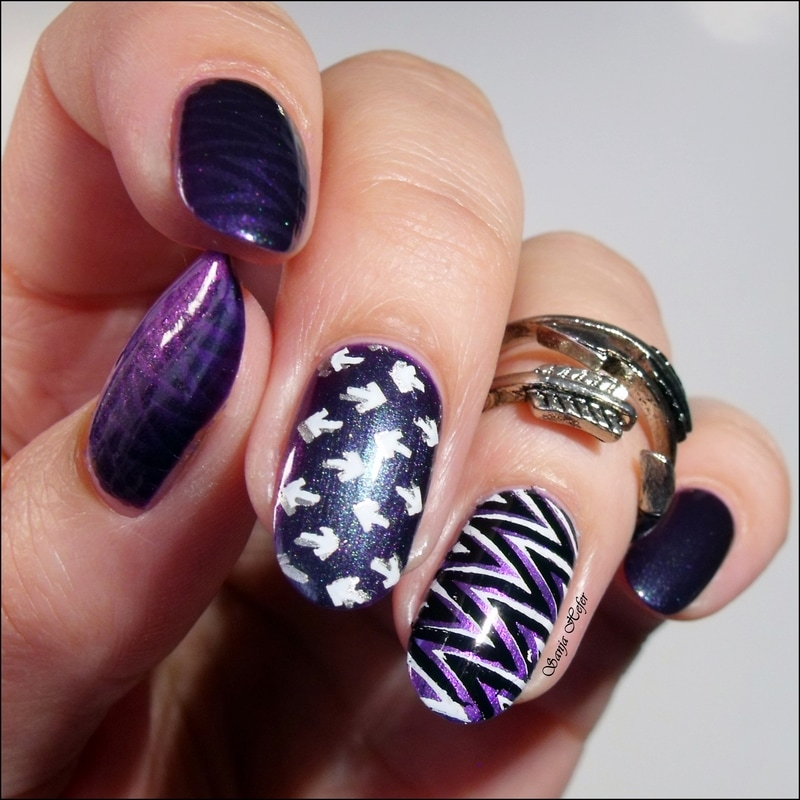
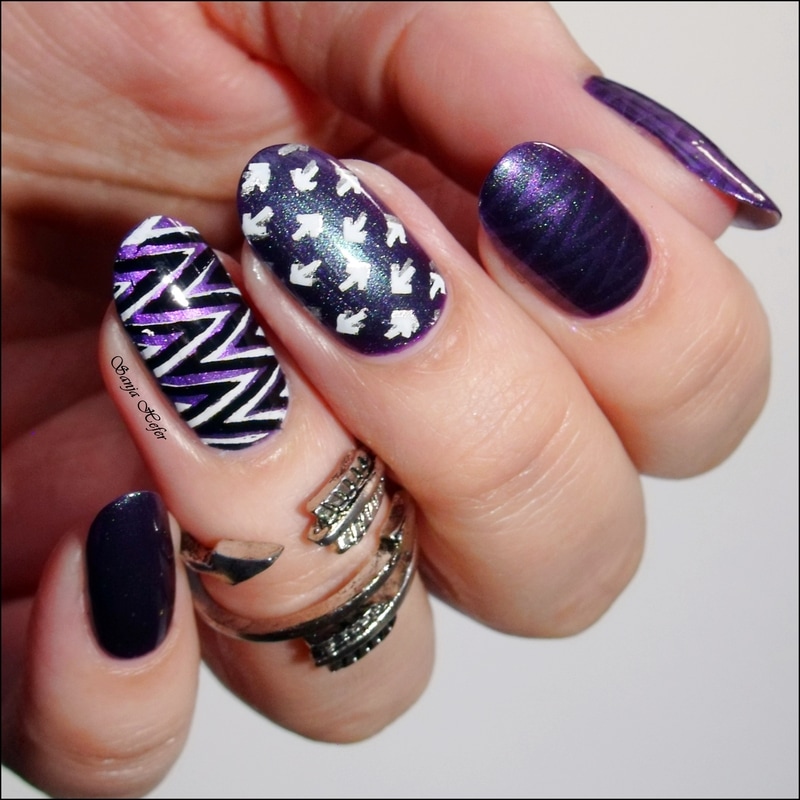
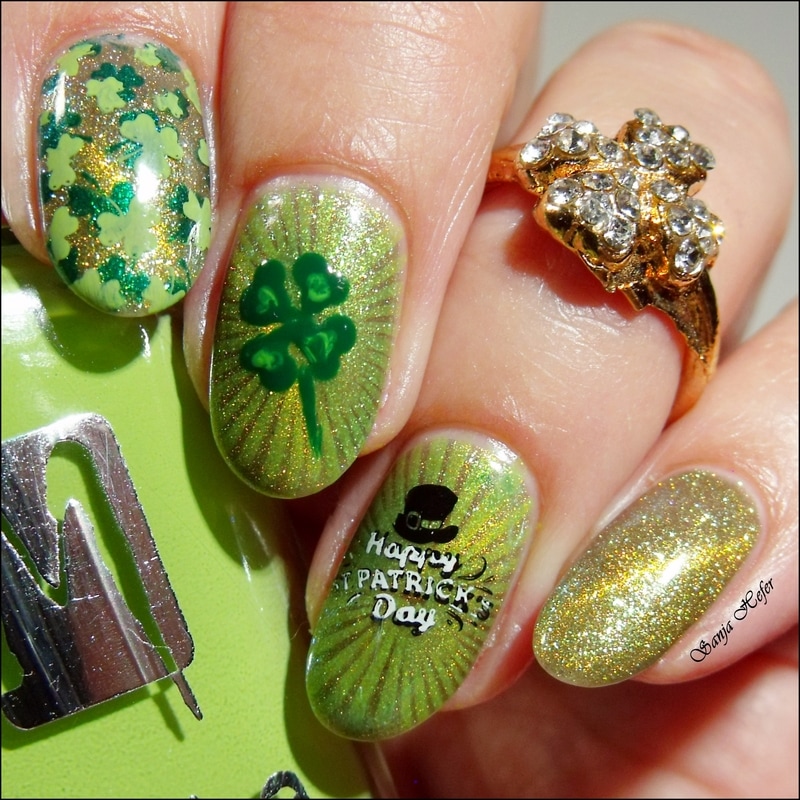
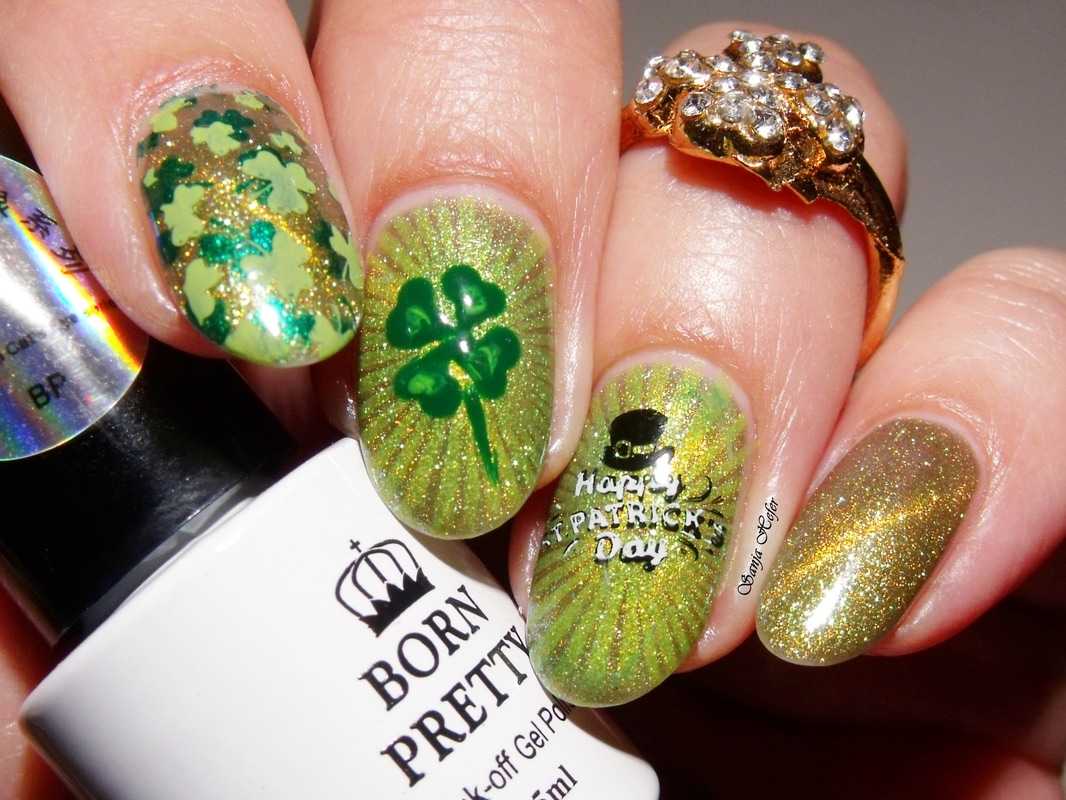
This is one beautiful rectangular plate filled with delicate flowers, really delightful plate if you ask me. Where the flowers are, you can find some bees, and butterflies, and dragonflies, and birds - of course, and all of them are included in this plate.
As always, plate came with blue protective film and card stock sleeve for storing the plate and protecting it from scratches if you do not have plate holder (album) to store them.
I love the plastic backing that will protect your fingers from cuts when handling stamping plate, but it also gives plate stability, so it is harder to bend them.
There is never issue with etching of any of Born Pretty plates, at least in my experience.
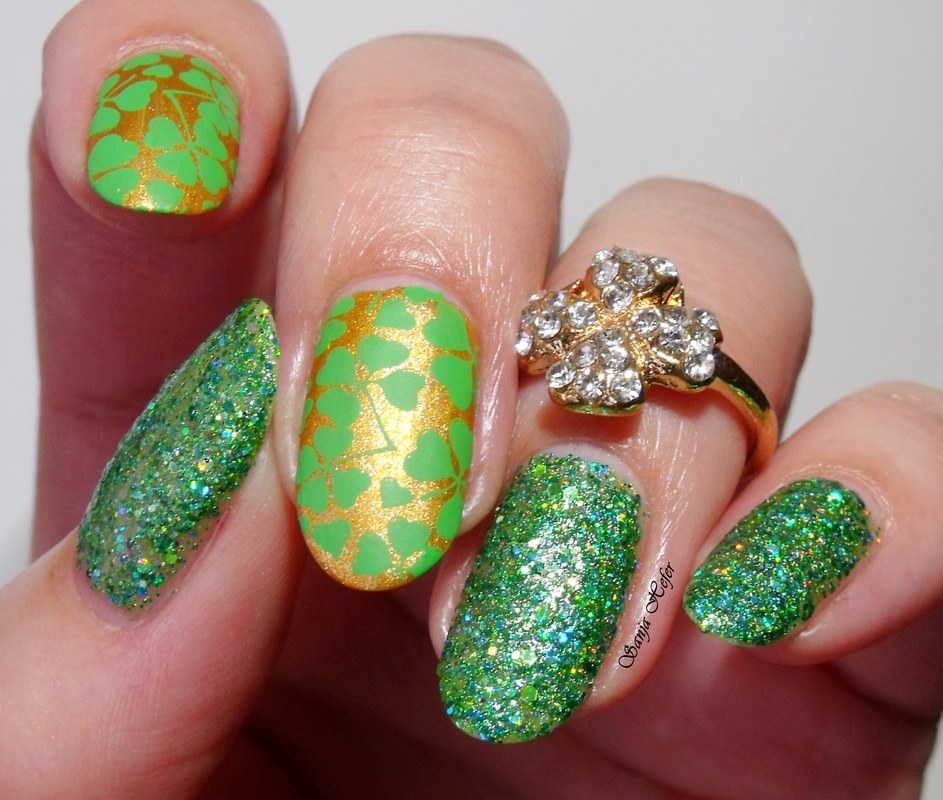
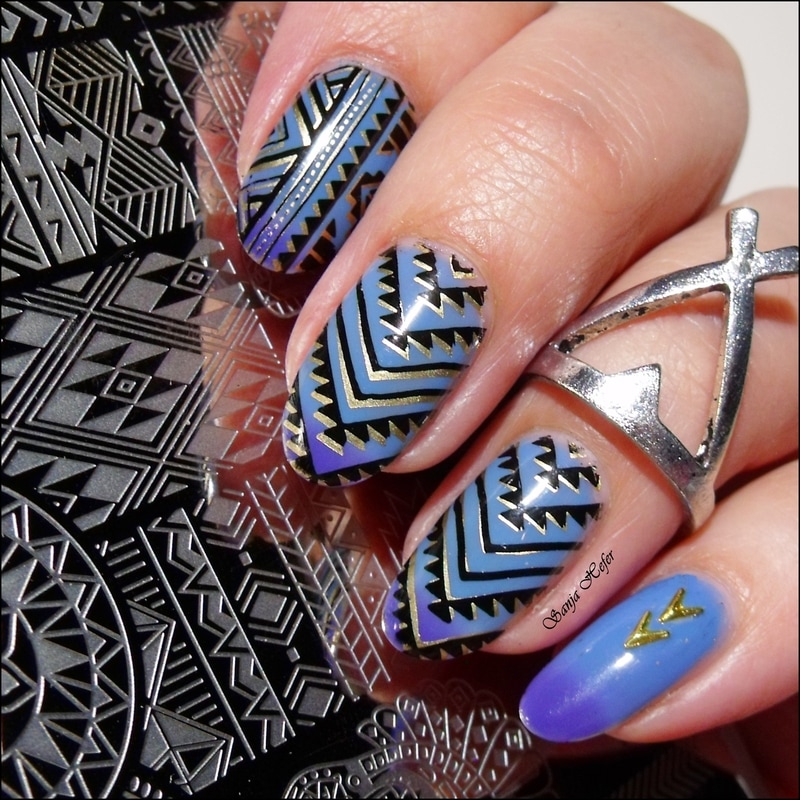
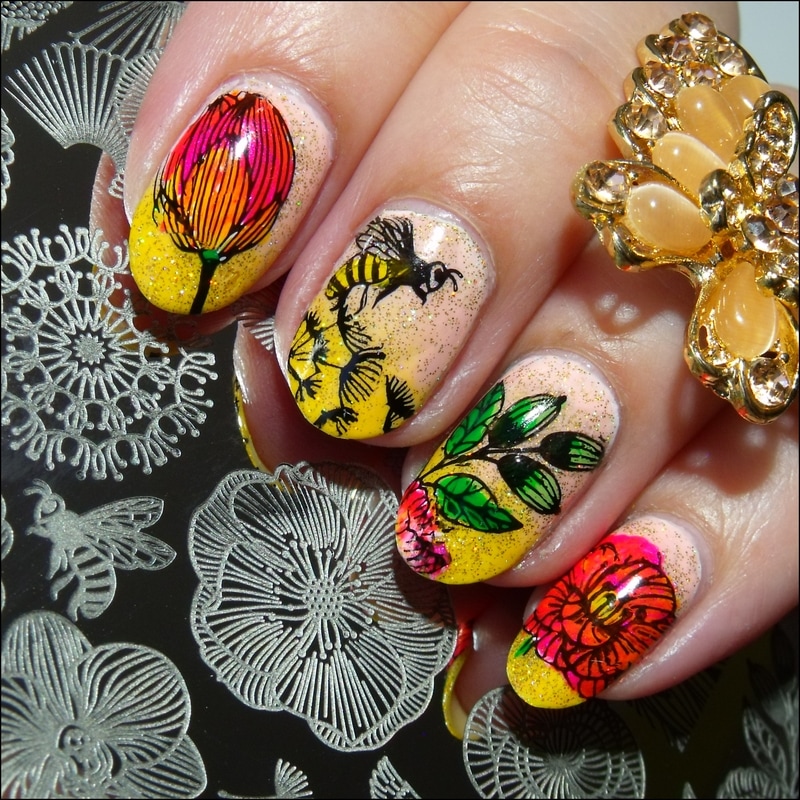
Images are great sized, so they fit any length of nail - they are big enough that will not get lost on the big nail bed, but will remain recognisable on the smaller nail bed for what it is. Win-win situation.
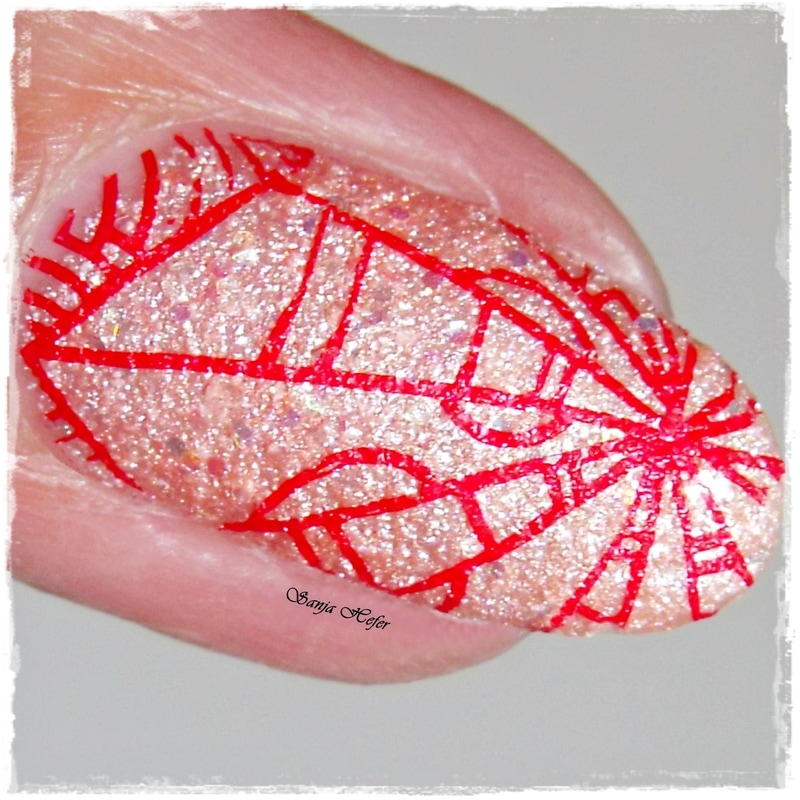
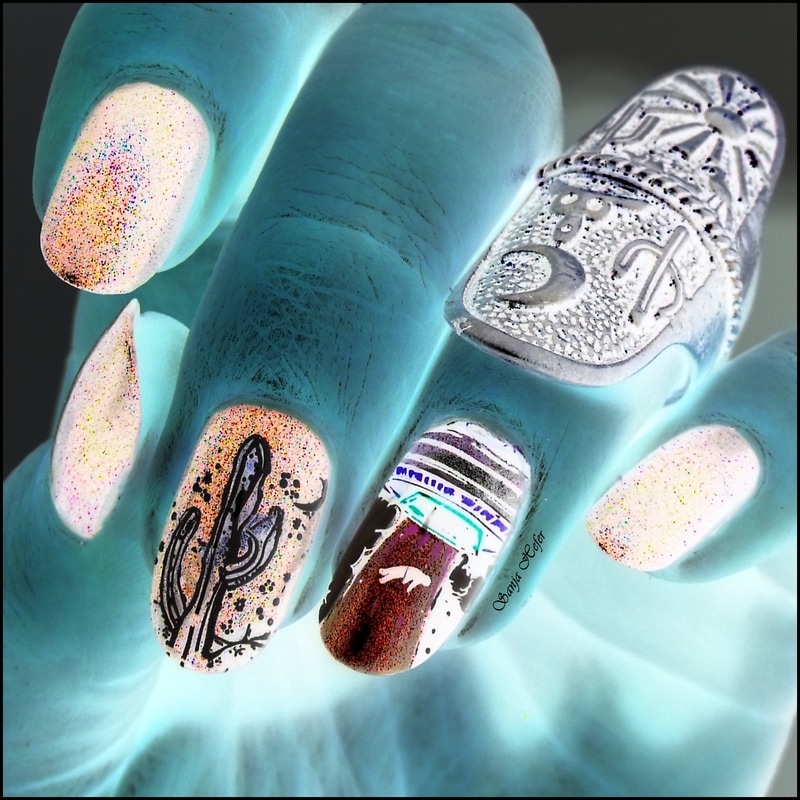
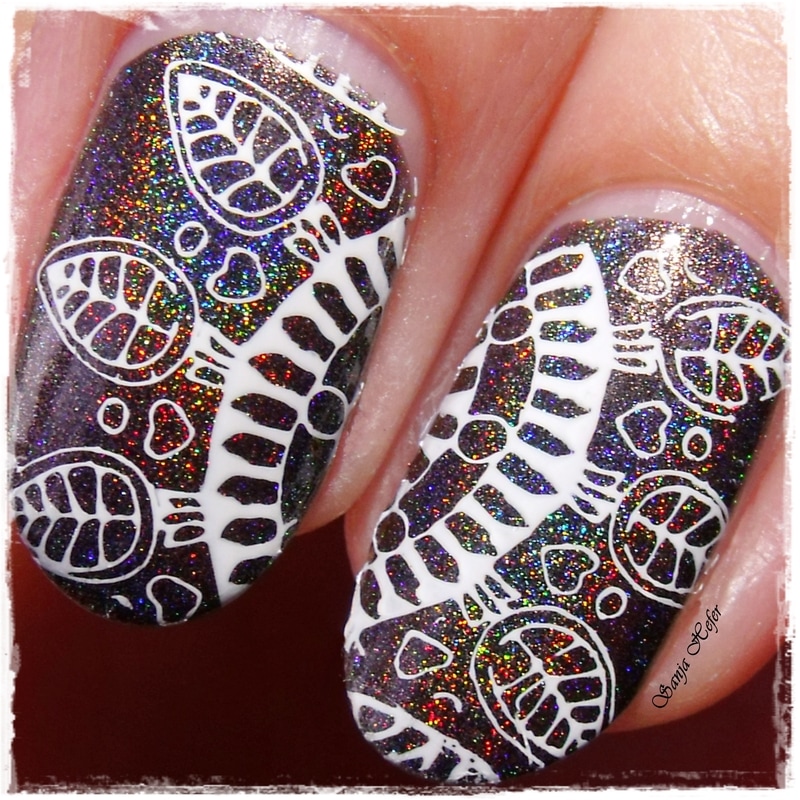
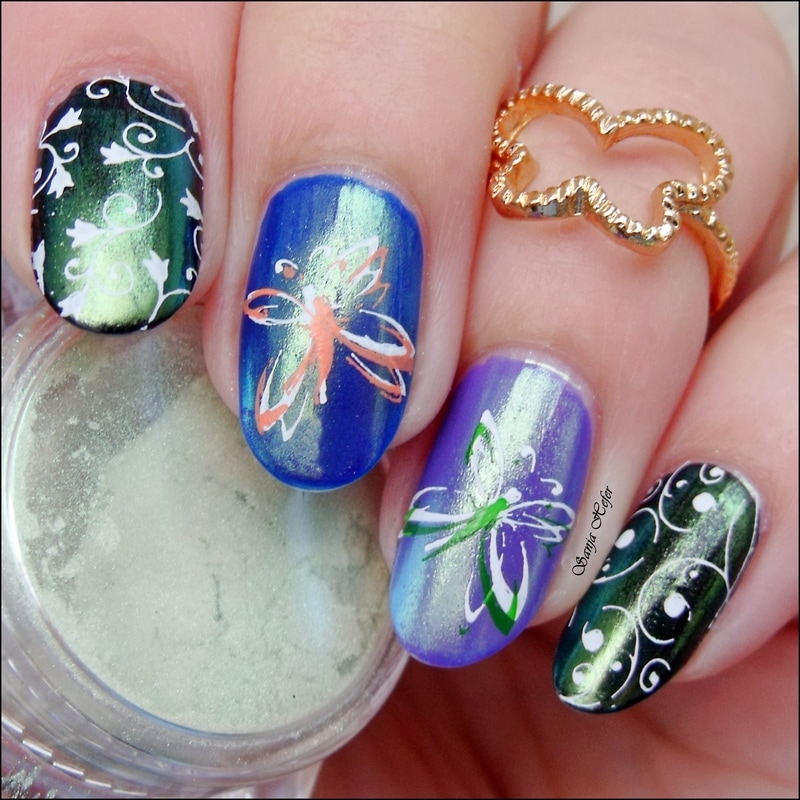
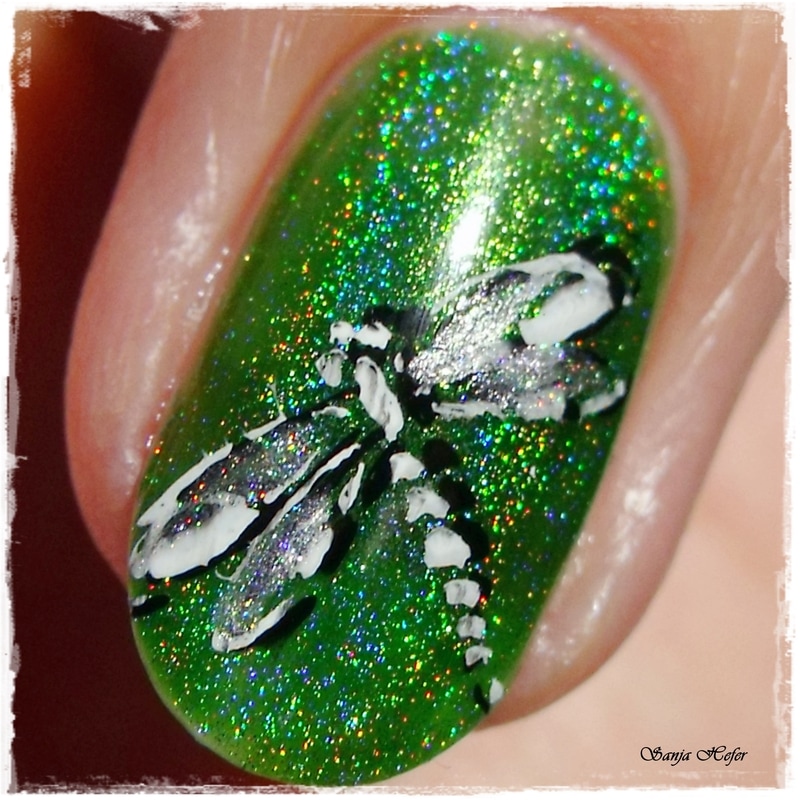
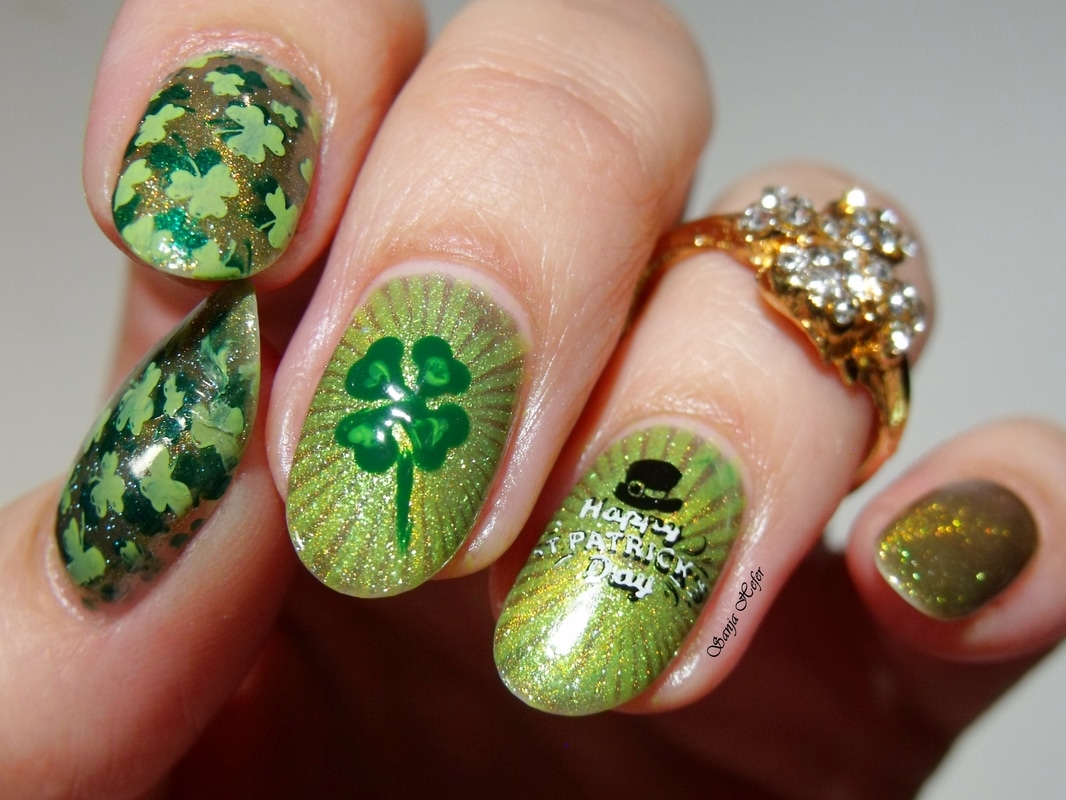
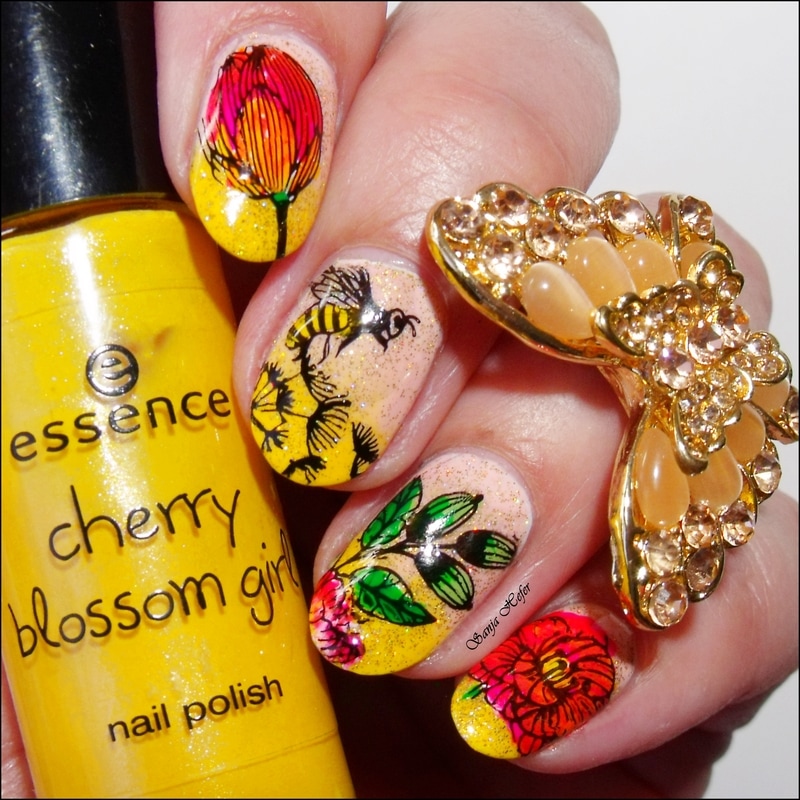
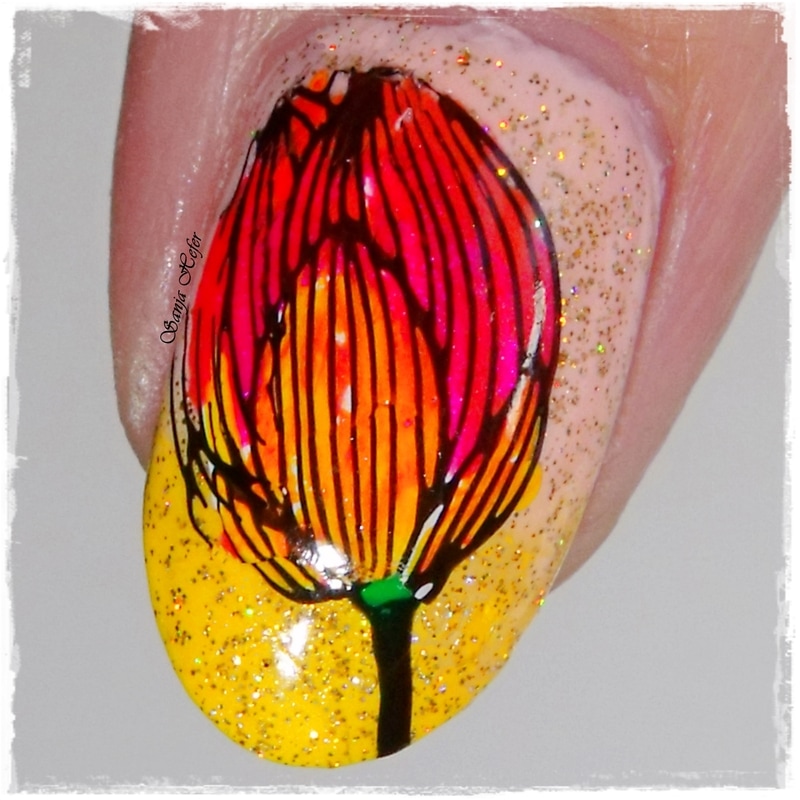
I do not color in decals very often, as my eyesight is getting the last word, but those images just asked to be colored in. That said, I am pretty sure that they would look equally amazing black or white, without added color.
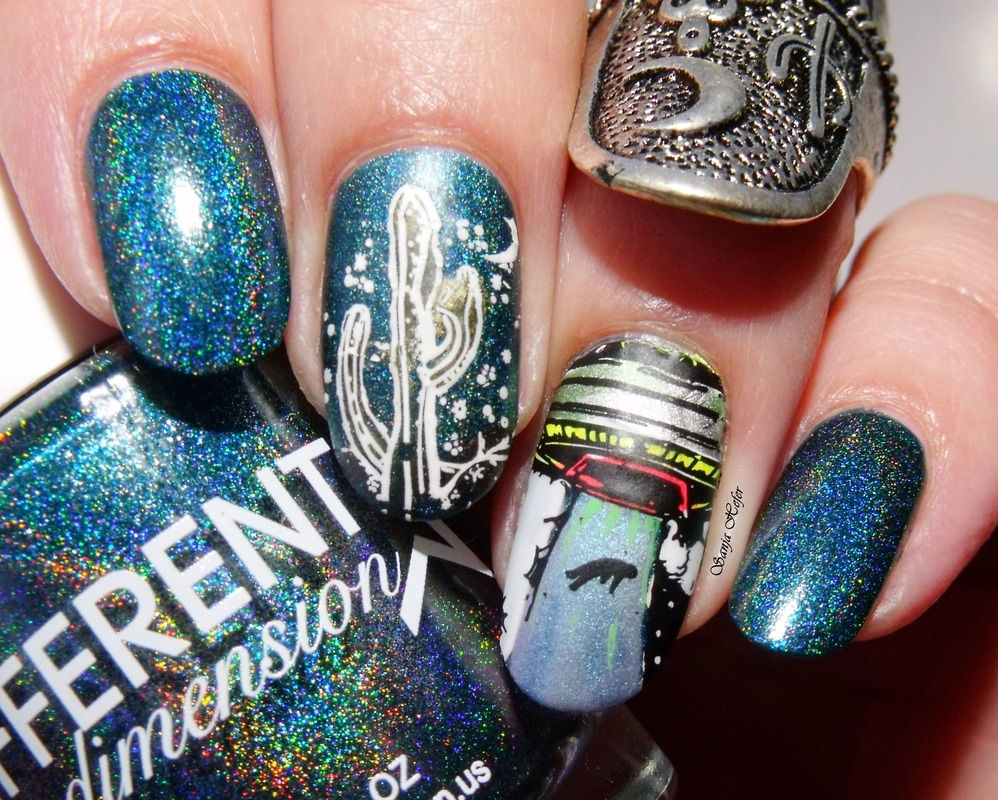
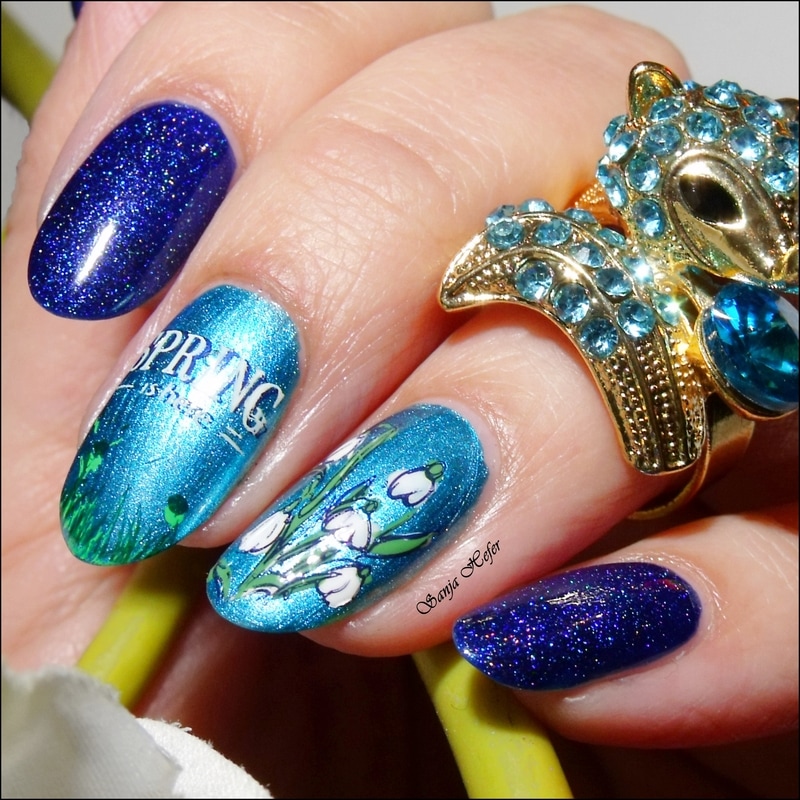
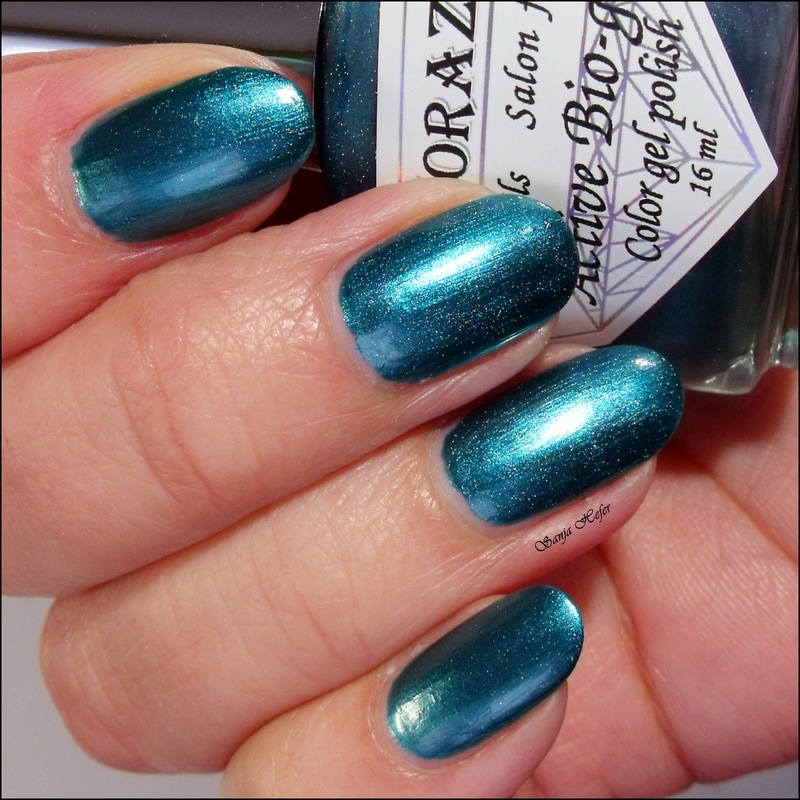
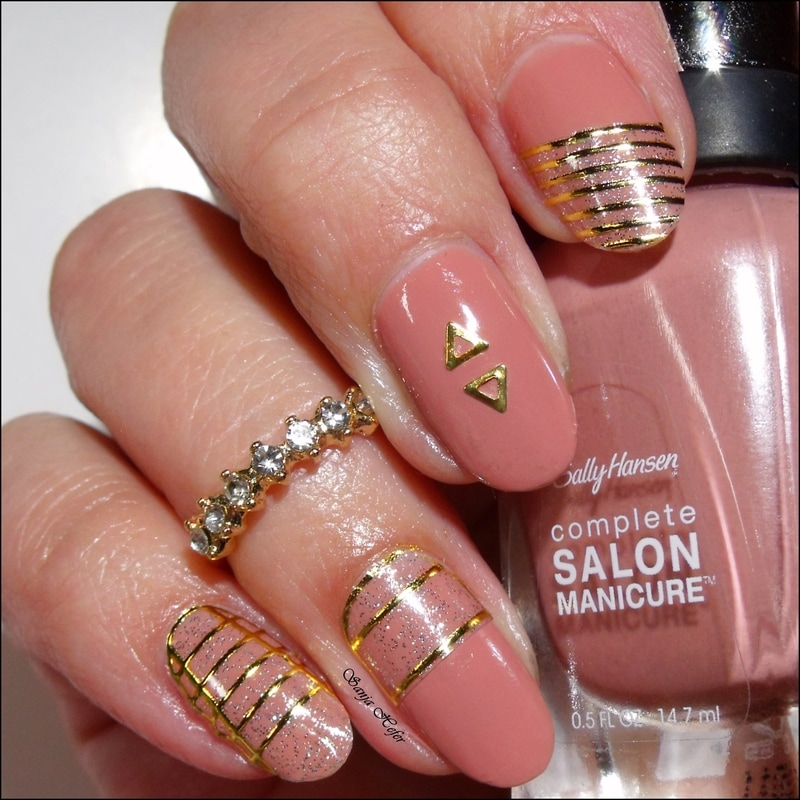
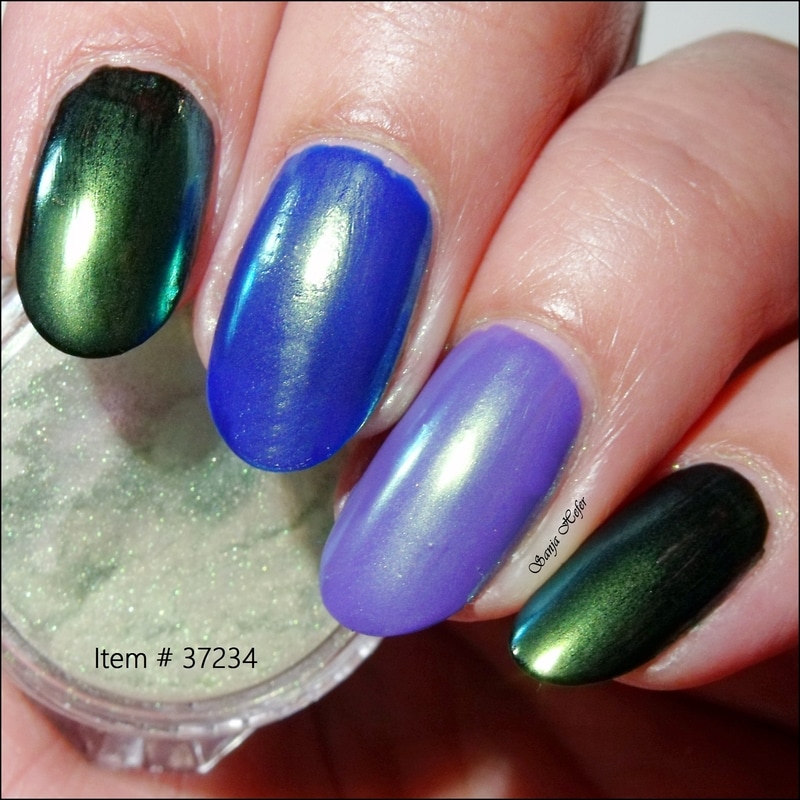
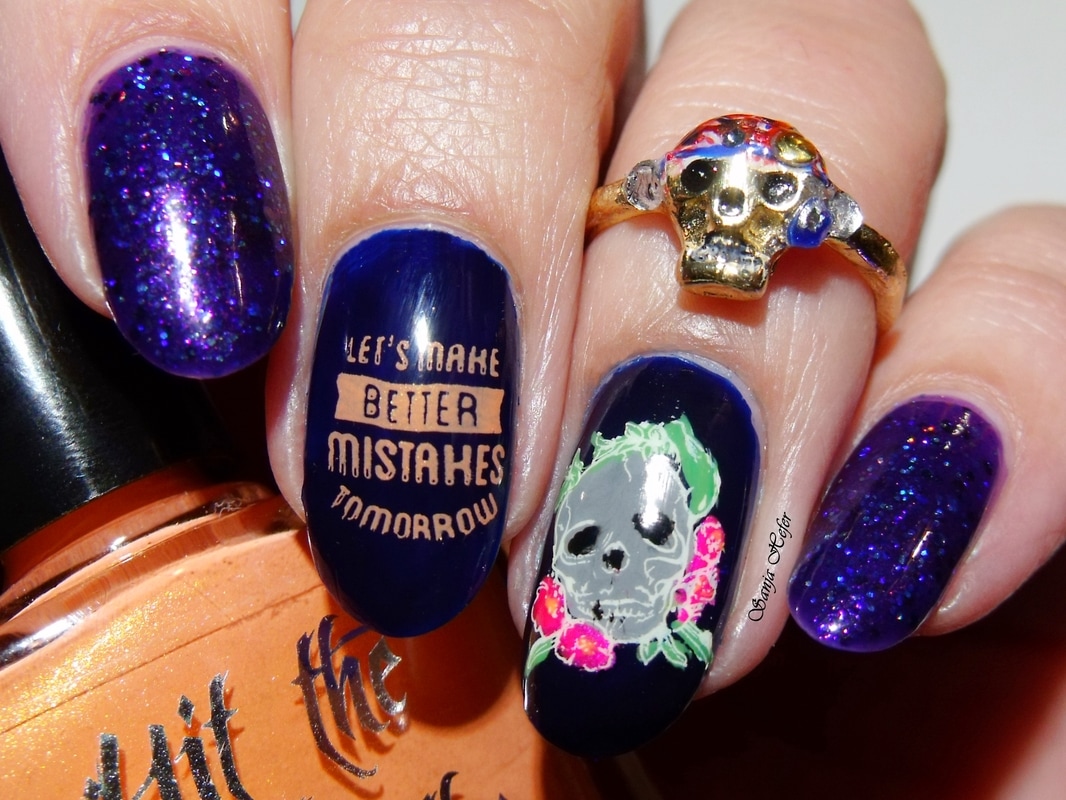
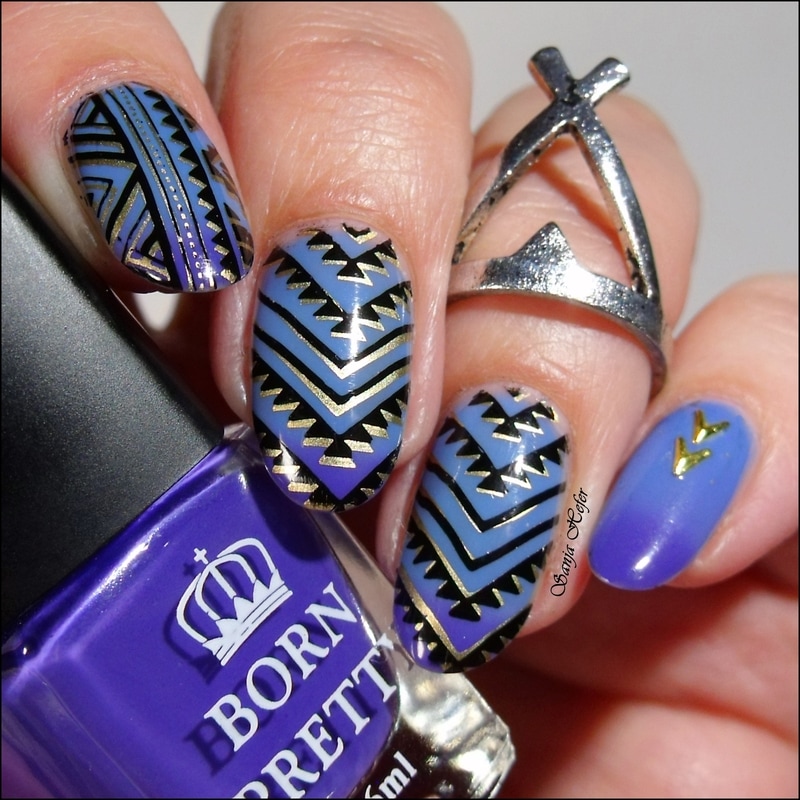
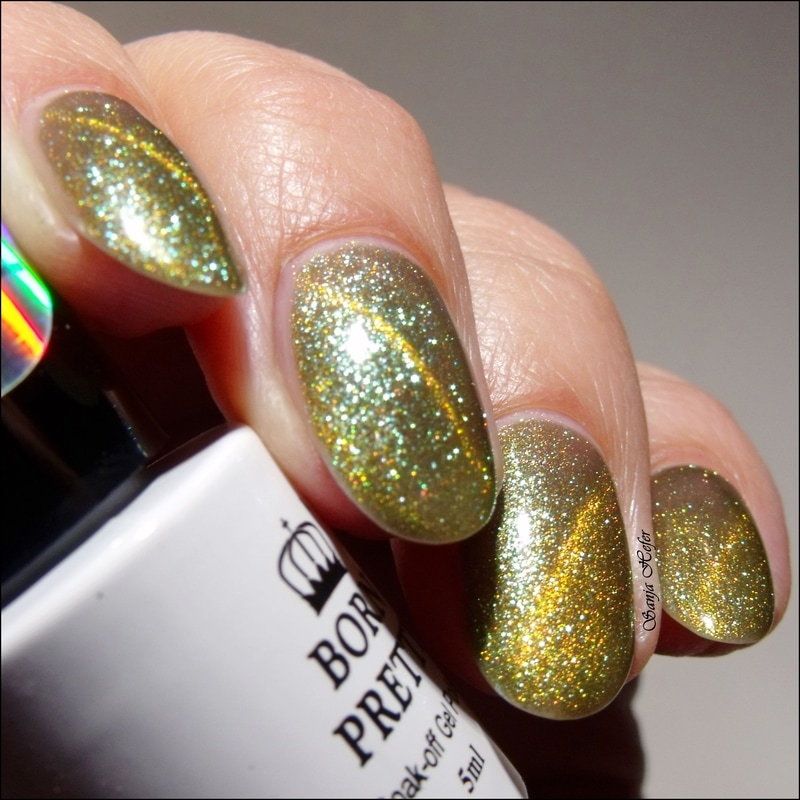
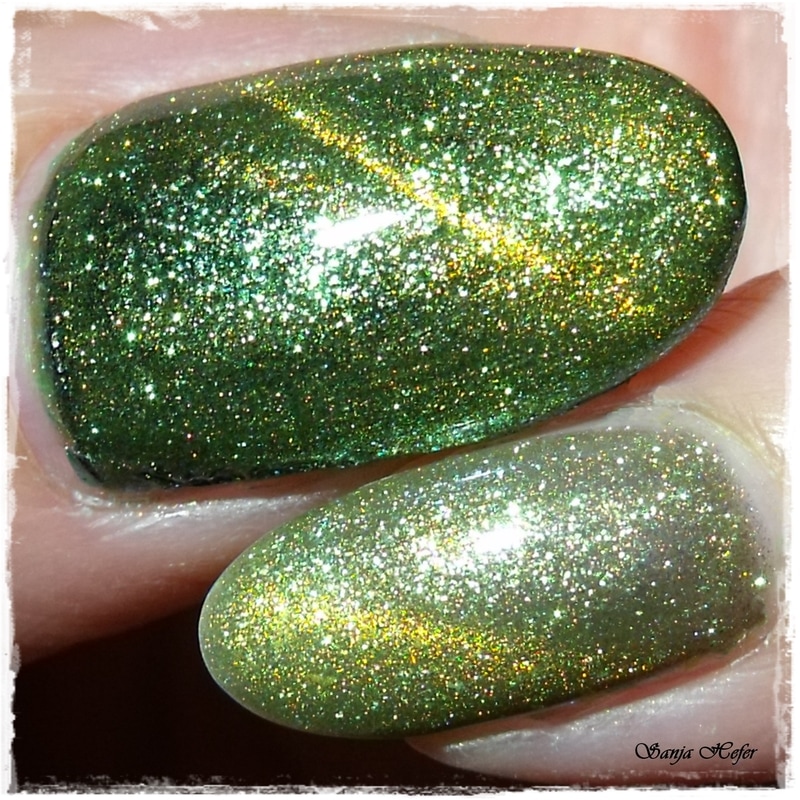
I also did gradient base for this manicure, using Essence - Fortune Cookie, and OPI - Small + Cute = <3.
I topped gradient using Orly - Bling.
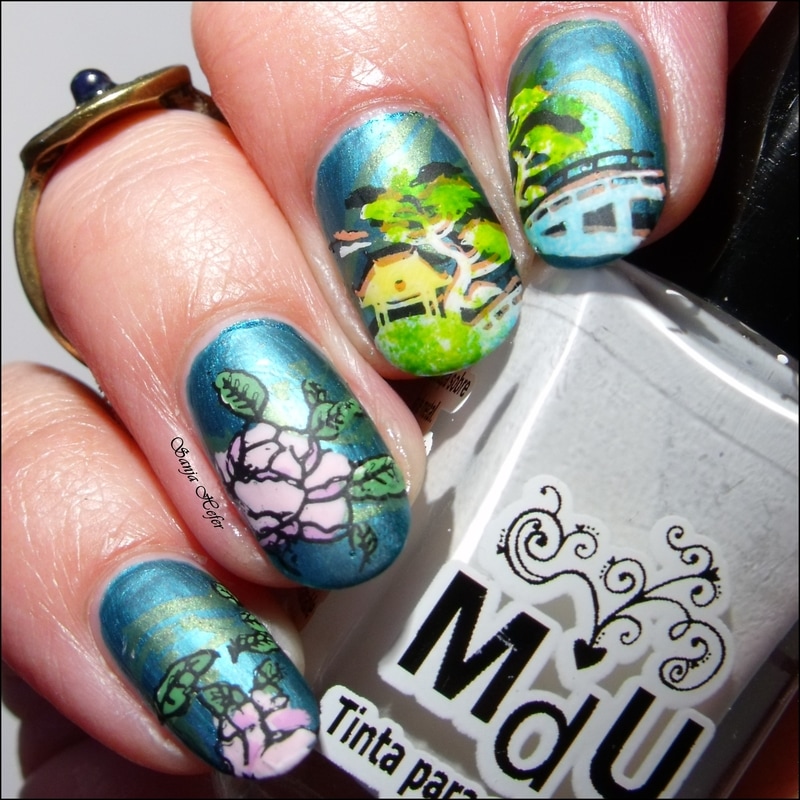
I stamped images on my mat using Black Born Pretty polish I reviewed couple of days ago, item #35984. I did told you then that this polish stamp fantastic, and you can see it for yourselves.
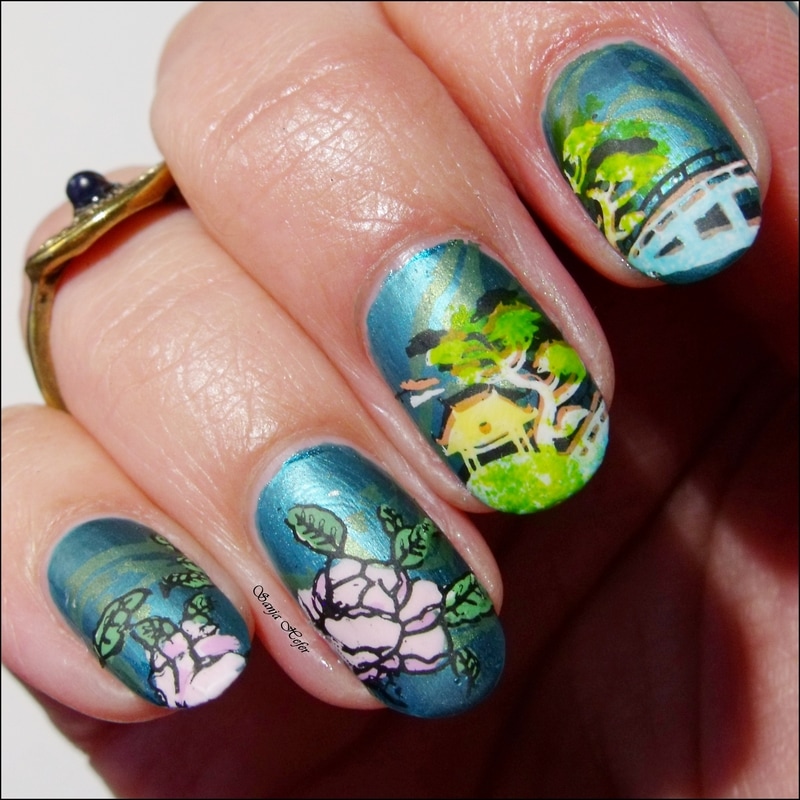
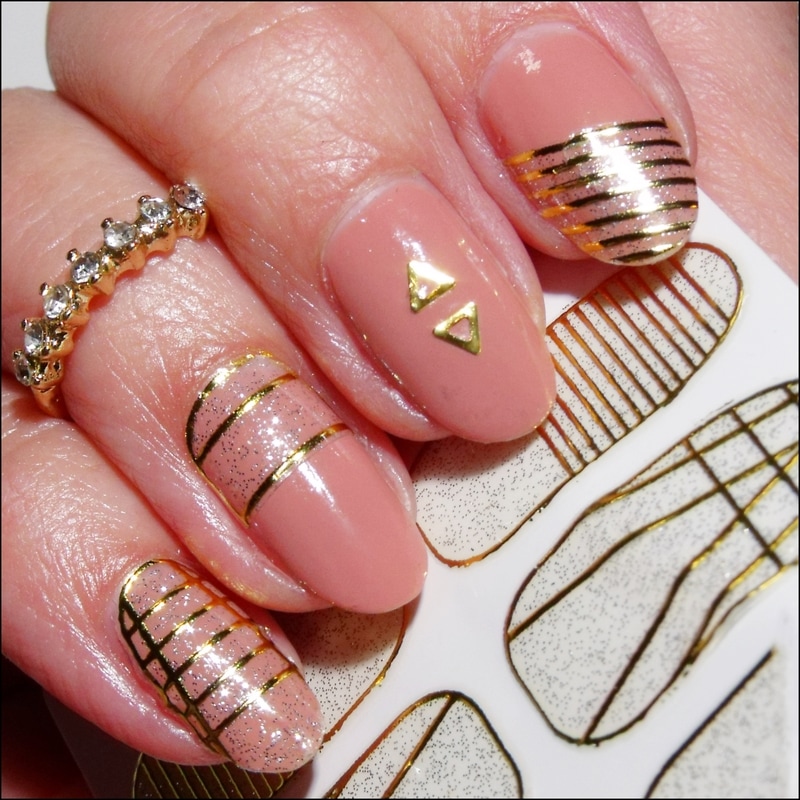
After I stamped images onto my mat, I proceeded with coloring in decals using different stamping polishes. I like coloring decal with stamping polishes, as they are opaque, and also they usually dry out really quick. When that was dry to touch, I added coat of regular top coat (you do not want to use quick dry top coat here), and when dry, I carefully pealed decals and applied them to my nails. Before applying them I did apply the sticky base coat, to make sure that decal will stick to my nail.
With clean up brush dipped in nail polish remover, I cleaned all the excess polish around nail.
I recorded tutorial and you can check it on my Instagram page @hefersanja.
My app 'ate' last part of the tutorial, but you get idea how it is done.
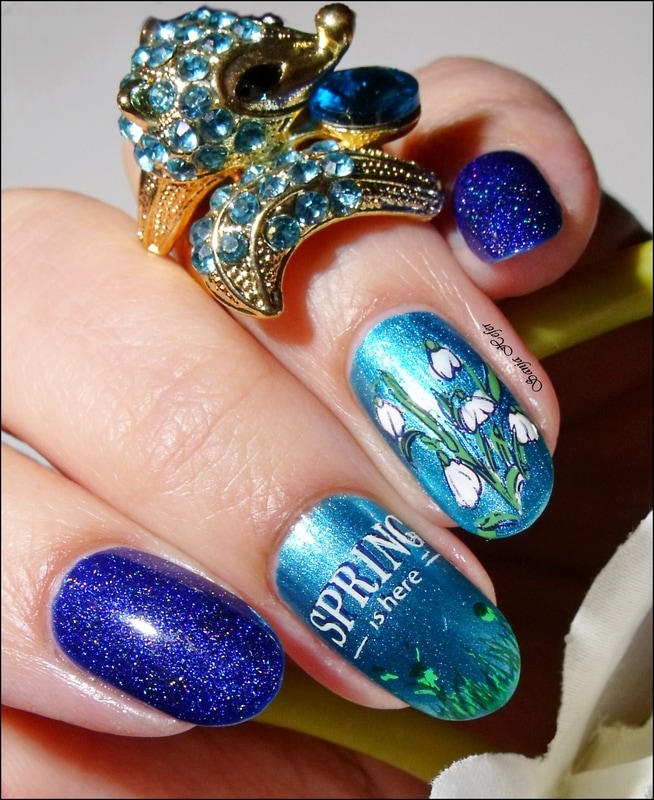
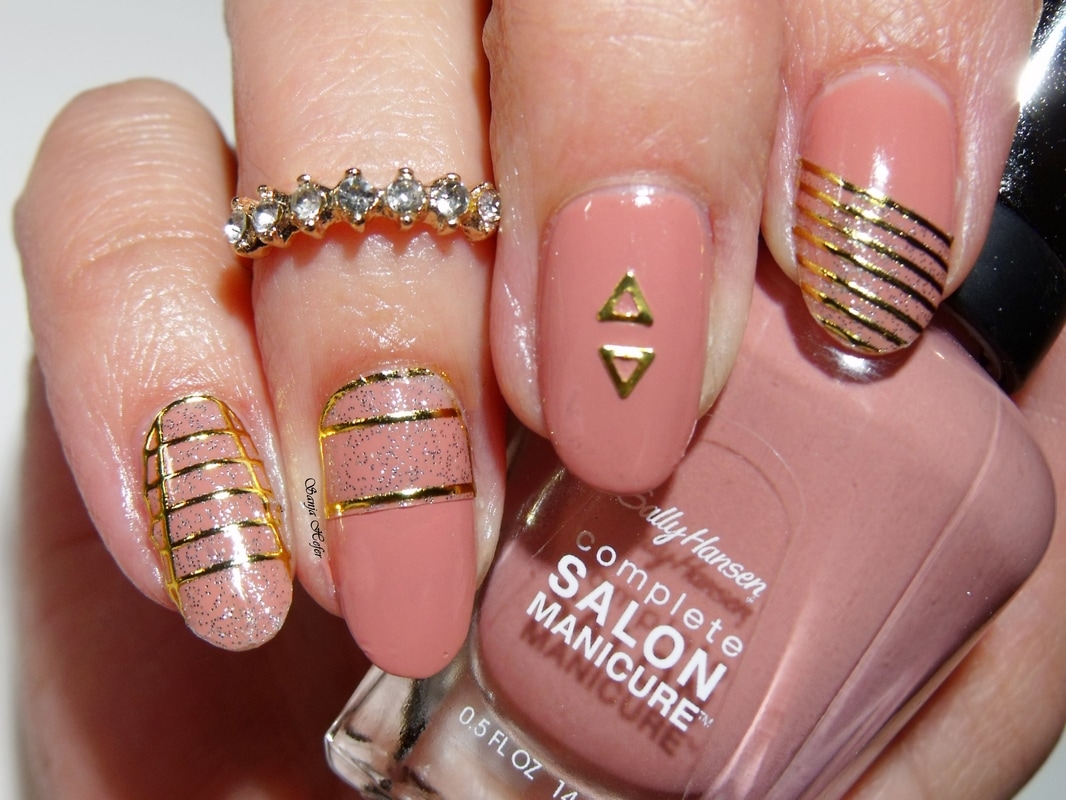
I hope you will like this bright, spring flower manicure as much as I did.
As always, thank you for stopping by.
As always, plate came with blue protective film and card stock sleeve for storing the plate and protecting it from scratches if you do not have plate holder (album) to store them.
I love the plastic backing that will protect your fingers from cuts when handling stamping plate, but it also gives plate stability, so it is harder to bend them.
There is never issue with etching of any of Born Pretty plates, at least in my experience.
Images are great sized, so they fit any length of nail - they are big enough that will not get lost on the big nail bed, but will remain recognisable on the smaller nail bed for what it is. Win-win situation.
I do not color in decals very often, as my eyesight is getting the last word, but those images just asked to be colored in. That said, I am pretty sure that they would look equally amazing black or white, without added color.
I also did gradient base for this manicure, using Essence - Fortune Cookie, and OPI - Small + Cute = <3.
I topped gradient using Orly - Bling.
I stamped images on my mat using Black Born Pretty polish I reviewed couple of days ago, item #35984. I did told you then that this polish stamp fantastic, and you can see it for yourselves.
After I stamped images onto my mat, I proceeded with coloring in decals using different stamping polishes. I like coloring decal with stamping polishes, as they are opaque, and also they usually dry out really quick. When that was dry to touch, I added coat of regular top coat (you do not want to use quick dry top coat here), and when dry, I carefully pealed decals and applied them to my nails. Before applying them I did apply the sticky base coat, to make sure that decal will stick to my nail.
With clean up brush dipped in nail polish remover, I cleaned all the excess polish around nail.
I recorded tutorial and you can check it on my Instagram page @hefersanja.
My app 'ate' last part of the tutorial, but you get idea how it is done.
I hope you will like this bright, spring flower manicure as much as I did.
As always, thank you for stopping by.
 |  |
To get 10% savings on all full priced items, please use my discount code SHGK31.
***Some of the items used were sent to me for my honest review. All opinion is mine, based on my use and experience with product. For pricing and availability, please refer to seller, all links provided above.***
***Some of the items used were sent to me for my honest review. All opinion is mine, based on my use and experience with product. For pricing and availability, please refer to seller, all links provided above.***