When it comes to nail extensions, I have lots to learn. My knowledge is so limited, it is almost non existent! To achieve any passable results, I really need all the help I can get, and I think I just stumbled at the gold mine.
In my ignorance and inexperience (I never done this before), took me two tries to even get most of the items I would possibly need. I learned I need one more... big sigh.
Let me start from the beginning.
I had a chance to choose some items from the Born Pretty Store. I decided that is high time to try to do gel nail extensions.
First I ordered couple of items, forgetting a main component - poly gel. I received it in my next review parcel.
I have three items here, and it was time to start.
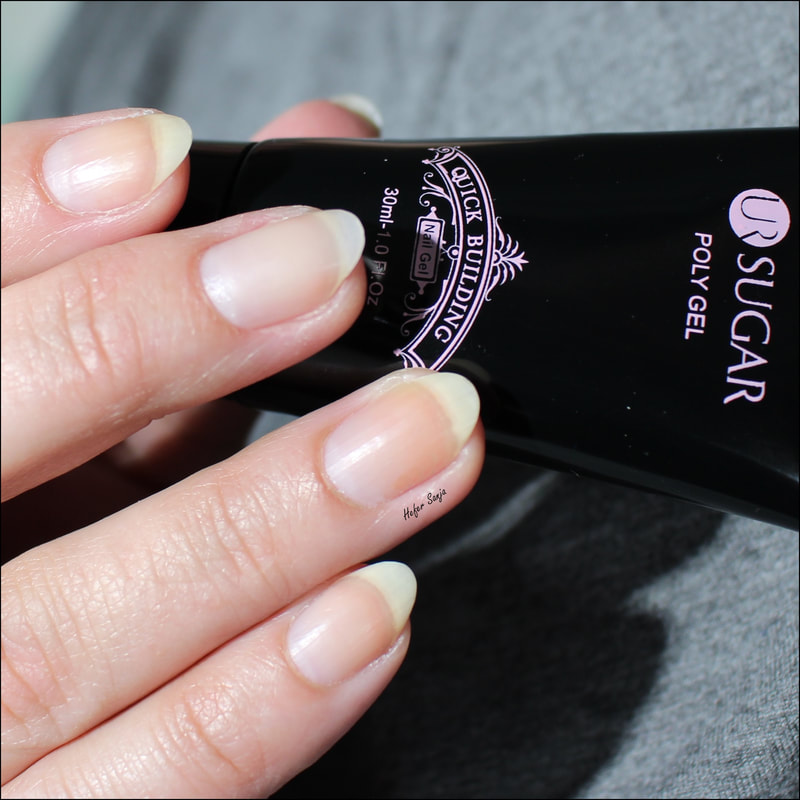
1. 30 ml UR Sugar Quick Building gel, item #4187, color URP08 - White.
In my ignorance and inexperience (I never done this before), took me two tries to even get most of the items I would possibly need. I learned I need one more... big sigh.
Let me start from the beginning.
I had a chance to choose some items from the Born Pretty Store. I decided that is high time to try to do gel nail extensions.
First I ordered couple of items, forgetting a main component - poly gel. I received it in my next review parcel.
I have three items here, and it was time to start.
1. 30 ml UR Sugar Quick Building gel, item #4187, color URP08 - White.
2. 20 ml UR Sugar Liquid Slip Solution, item #41873. When I placed my order, I thought this was a gel... silly me... You need this solution if you are using a brush to spread poly gel. I did tried, but I found it frustrating, as for the life of me, I could not make even spread. Perhaps, my inexperience played huge role here. That made me think about the different ways to spread that gel without overworking it and adding some air bubbles. I came to idea that actually worked. I actually used one of the swatch sticks, I rounded the tip, and used it to evenly and fairly quickly spread the gel into one of the false nail forms, which are the next item that you will need.
3. 1 box 100 pc Quick Building Mold Dual Forms, item #41902. These forms come in 10 different sizes, and you are getting 10 of each size. You should use the size that is closest to the size of your natural nail.
4. Nail Tip Clip, item #42106 is the item I did not have, and wished I did. Once again, blessed ignorance! These plastic clips are there to hold your form tightly while curing so form would not lift. Because I did not have them, I had to improvise, so I used one of the hair clips from way back when my hair was longer... This was not the perfect solution, but it was better than nothing.
I have a slideshow here that will show you step by step (or so) how I successfully built gel nail extension for the first time.
I have a slideshow here that will show you step by step (or so) how I successfully built gel nail extension for the first time.
To recap, here is step by step. Some steps are missing, as I either forgot to take the photo, or quality of the photo was substandard.
I will use the opportunity to apologize for the quality of the photos. This was the first time for me to use the timer on my camera for pictorial... some of the photos are little bit blurry, and some are bit darker than I anticipated.
Timing for this parcel was impeccable. Day before I received the parcel, I broke middle nail on my dominant hand, and for some reason, I decided against cutting all the other nails to match the broken one. That would be my usual MO... In any case, I was glad I had a nail on which I can try this system. This is another reason why photos are the way they are.
1. I started by applying the one coat of gel base coat. I made sure that tip is capped, so my poly gel will have something to grip on for flawless tip.
2. Even though on my photos I shown that I picked size of the form after I applied base coat, I done this before. I needed to try couple of sizes to find the right one. If there is a need, you can use fine nail file to slightly file the form to fit your nail better.
3. I applied small amount of the poly gel directly to the form. You really do not need much, as little goes long way. Also, too much of the poly gel will ooze out of the form when you apply it onto your nail. If any of the gel comes out, you will need to clean it before curing. I used brush dipped into acetone.
4. Spread poly gel using brush dipped into slip solution, or use any tool you choose. I used my makeshift spreader, and worked perfectly. I just cleaned it after use, and will be able to use it again when needed.
5. I started placing the form as close as I dared to the cuticle. Form is clear, so you can actually see if it is flat against your nail. If form is not pressed enough, you will end up with big air bubble that will cause lifting of the extension.
6. I applied clip to hold the form in place, and then cure it using UV/LED light.
7. Remove clip, and holding the two nobs on each end of the form, gently twist. I was pleasantly surprised how easily this was to remove, and even more, I was impressed how good that extension looked! Surface was smooth, and no filing of the top was needed.
8. As you can judge by the photo, my extension was way too long for me. I wanted my extension to fit with other nails, so I first trimmed it down, then filed to shape. First I used rougher file to shape it, then fine glass one to smooth the edges. I kind of filed slightly more of the length than I wanted, but in the end, I was really happy with the result.
9. I actually finished this with a gel top coat. I am not sure if this step was needed, but I did it regardless.
10. Paint your nail in color of your choice.
Who ever came up with this system is pure genius. I did try to use the paper forms, and results were less than satisfactory. Surface was bumpy, and I could never make those forms to fit properly. Don't even start me on the filing.
I love this Quick Building Form system and would totally recommend it. I was so happy that all the nails on my hand were the same size and shape, and that I did not have to cut rest of them. Results looked so good, even if I have to say it myself.
I have few photos left to share with you.
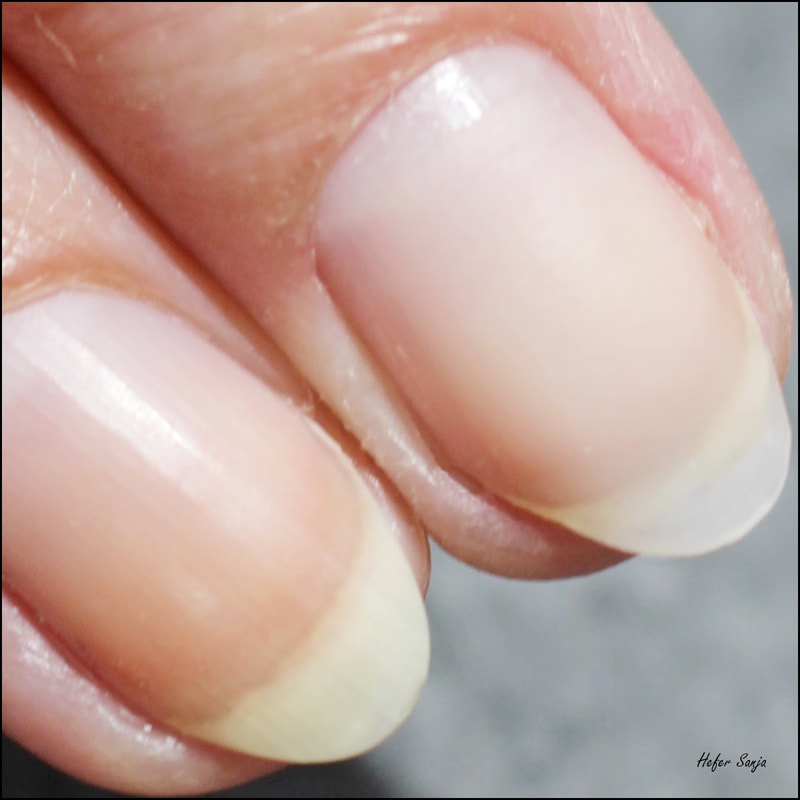
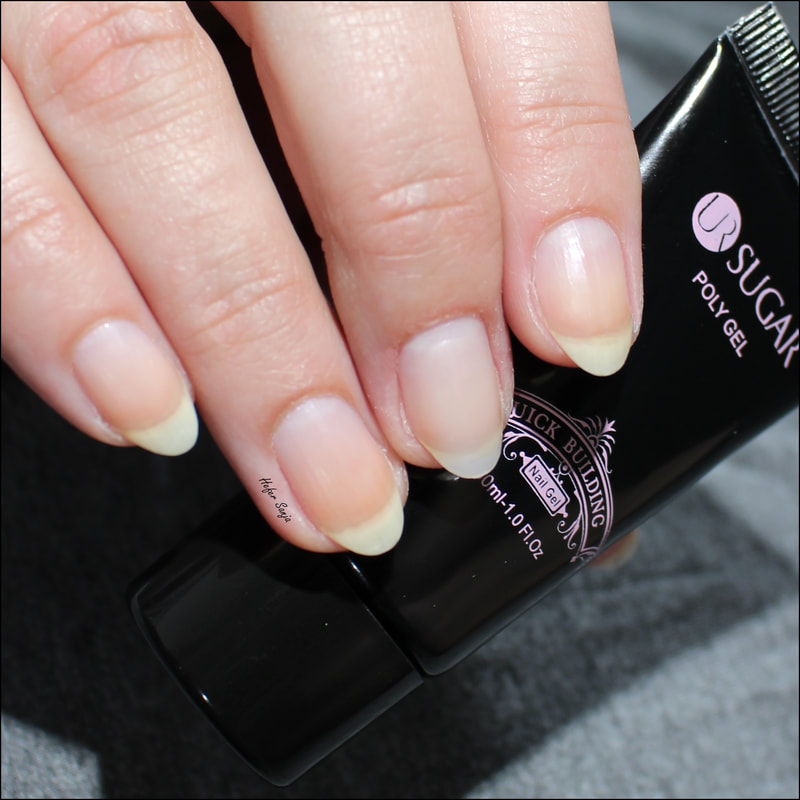
Only way to tell the fake nail is by looking at the tips. extension is nice and clean, while my natural nails have some staining from nail polish on the top half of the nail.
There is also my discount code for 10% off of any fully priced item in the store SHGK31. Add to that free shipping world wide, and you have a winner.
*** Products used were sent to me for my honest review. All opinion is mine, based on my use and experience with products. For availability and any pricing inquiries, please refer to seller, all links provided. ***