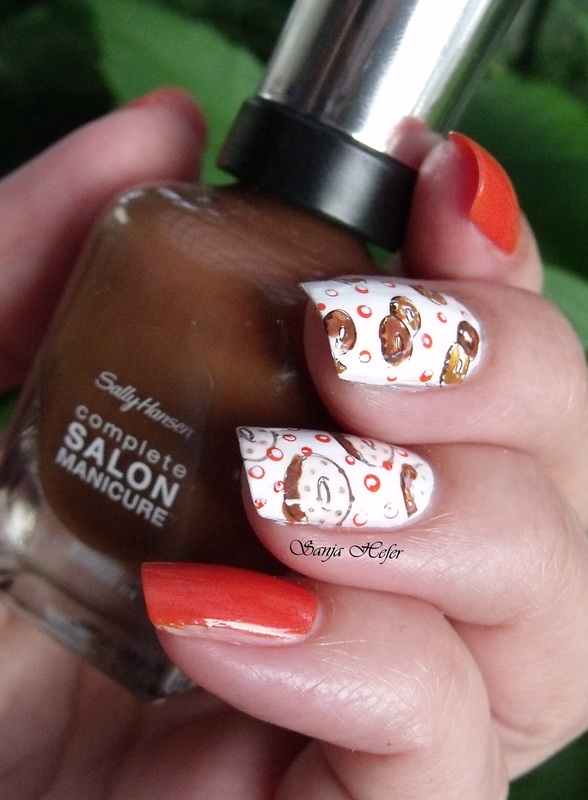
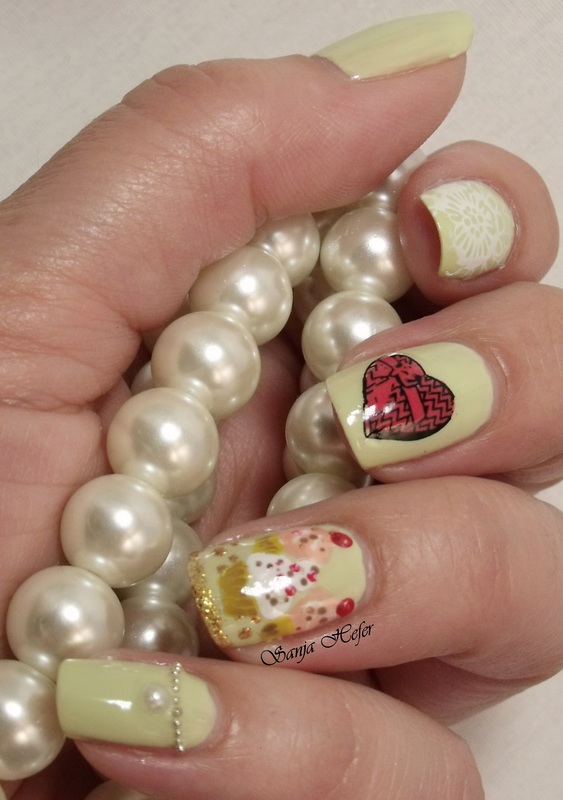
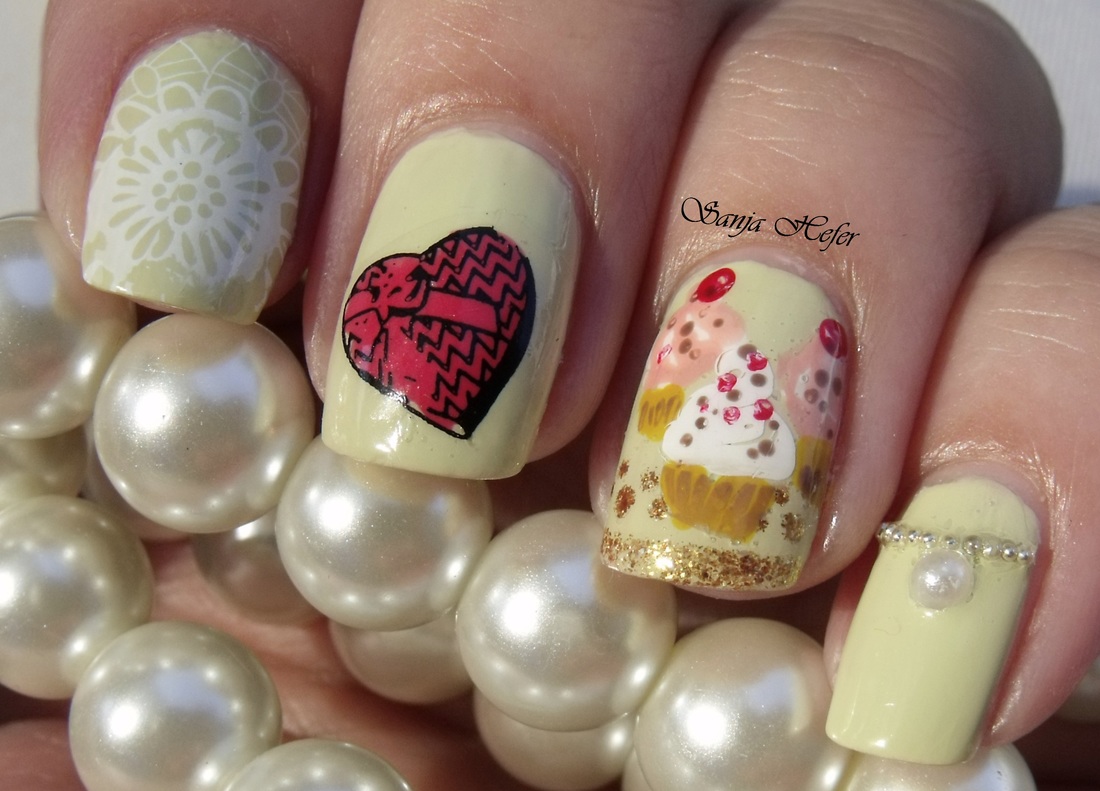
Here is fun manicure for the all of you with a sweet tooth. Doughnuts are not my favorite dessert - there are quite a few that I like more. What to tell you, I have a sweet tooth, and my hips don't lie :) .
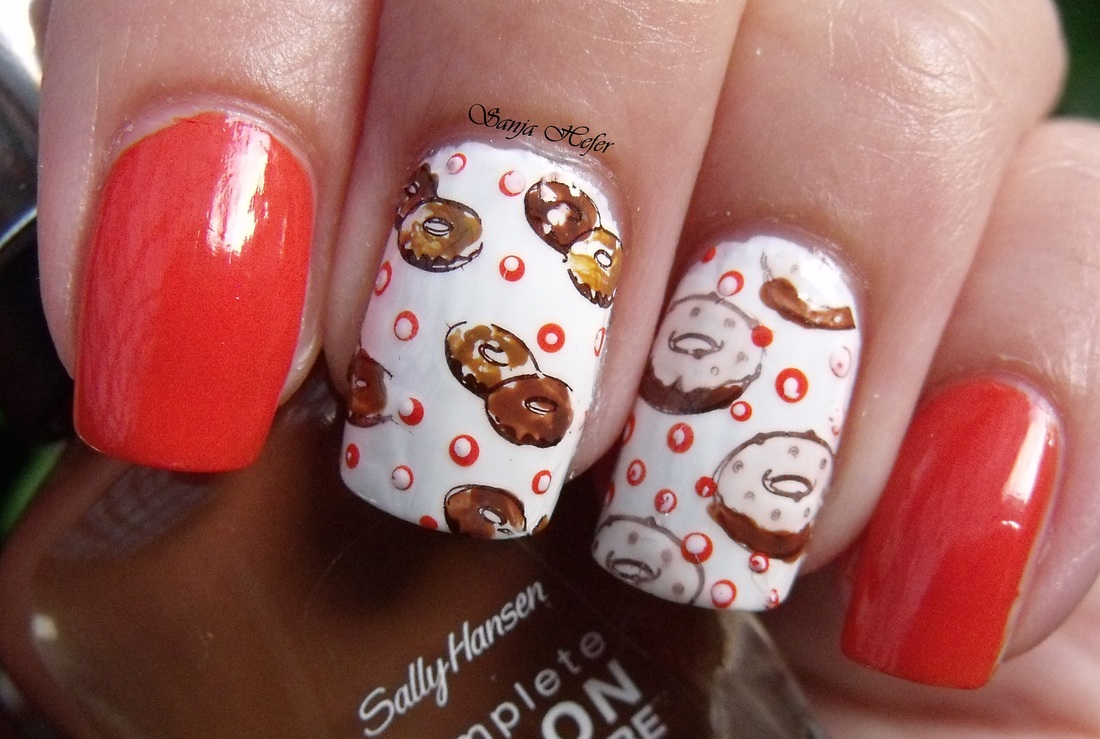
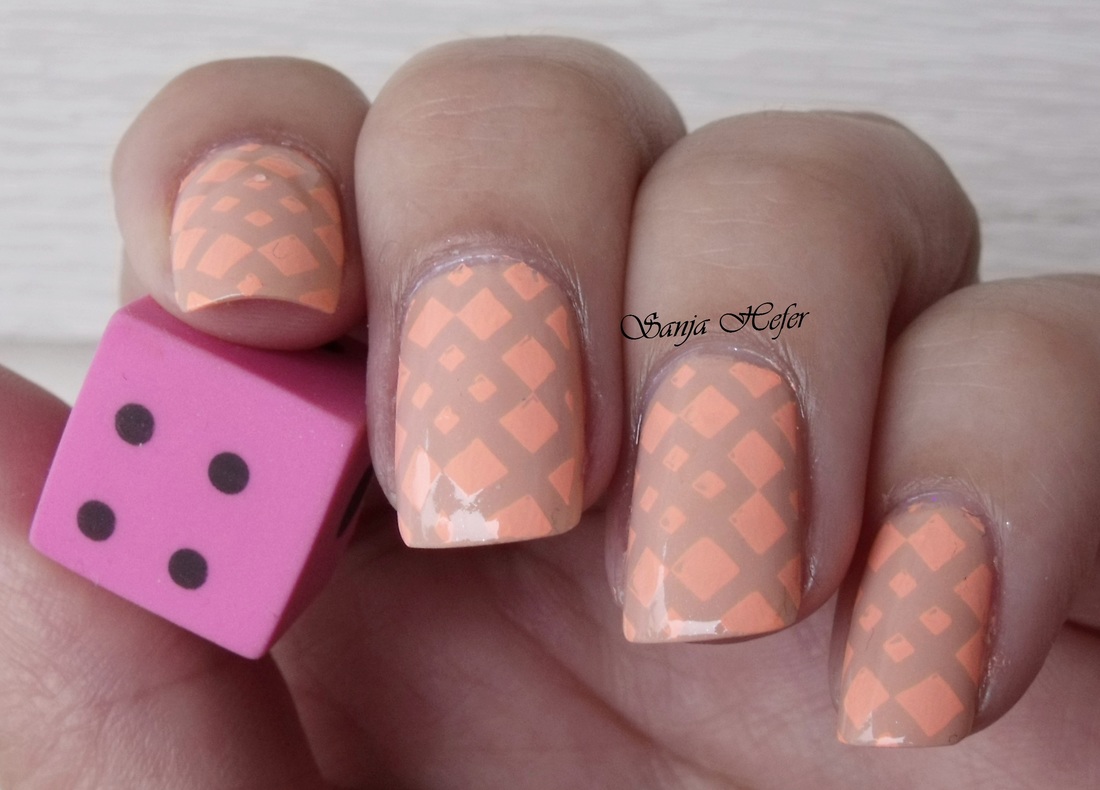
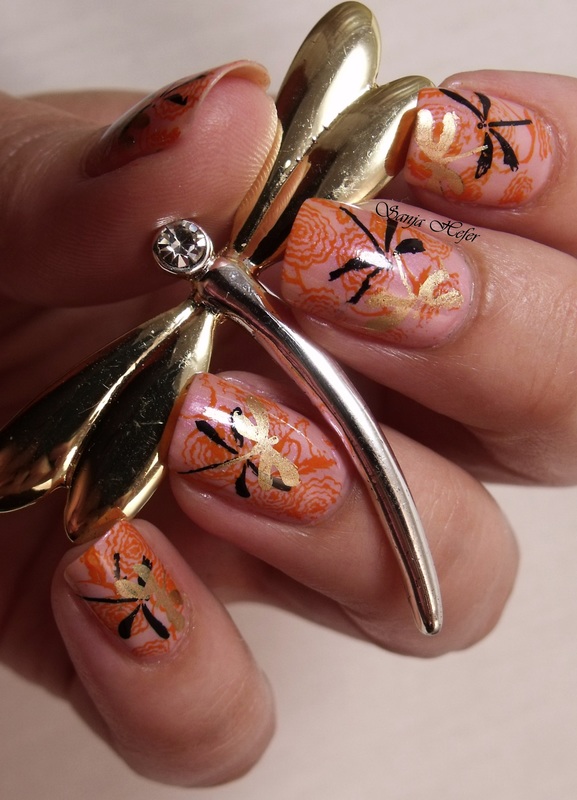
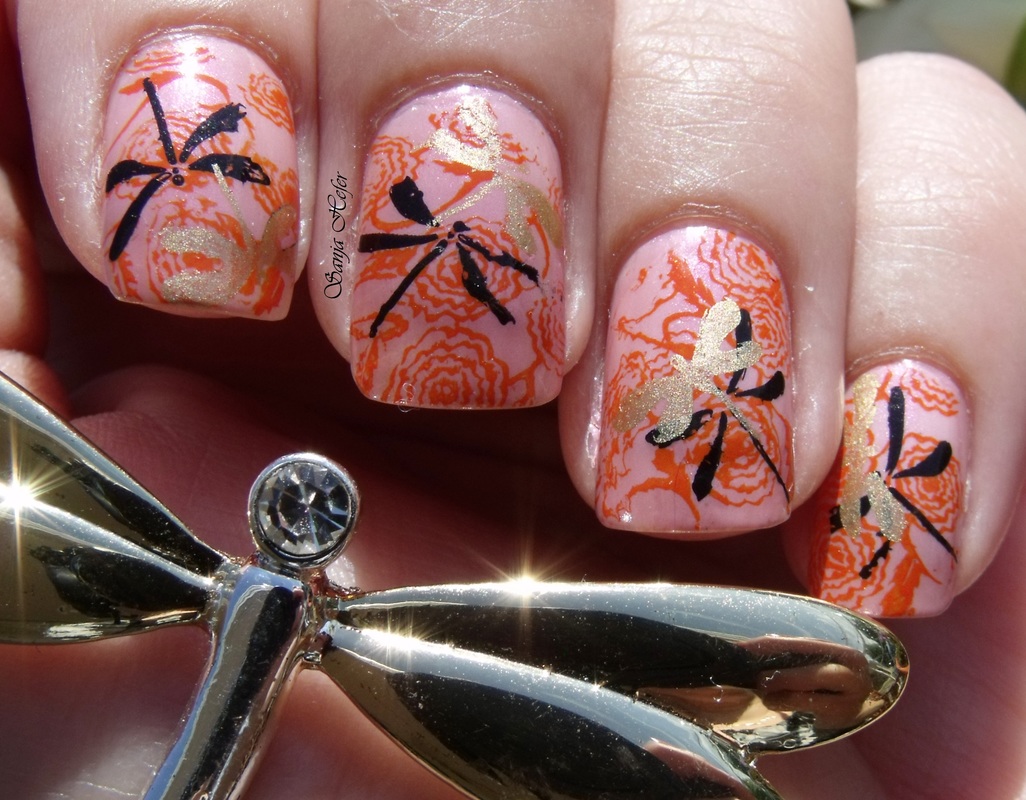
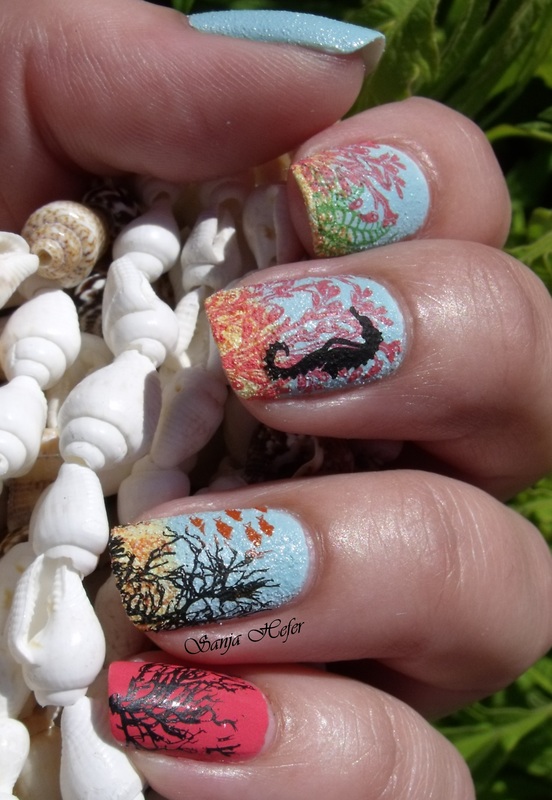
Orange polish is Sally Hansen - Firey Island, and base on other two nails is Sally Hansen - White on. I Stamped images from Dana 6 and Dana 8 plates using Revlon - Espresso, then I filled them up. All finished with top coat.
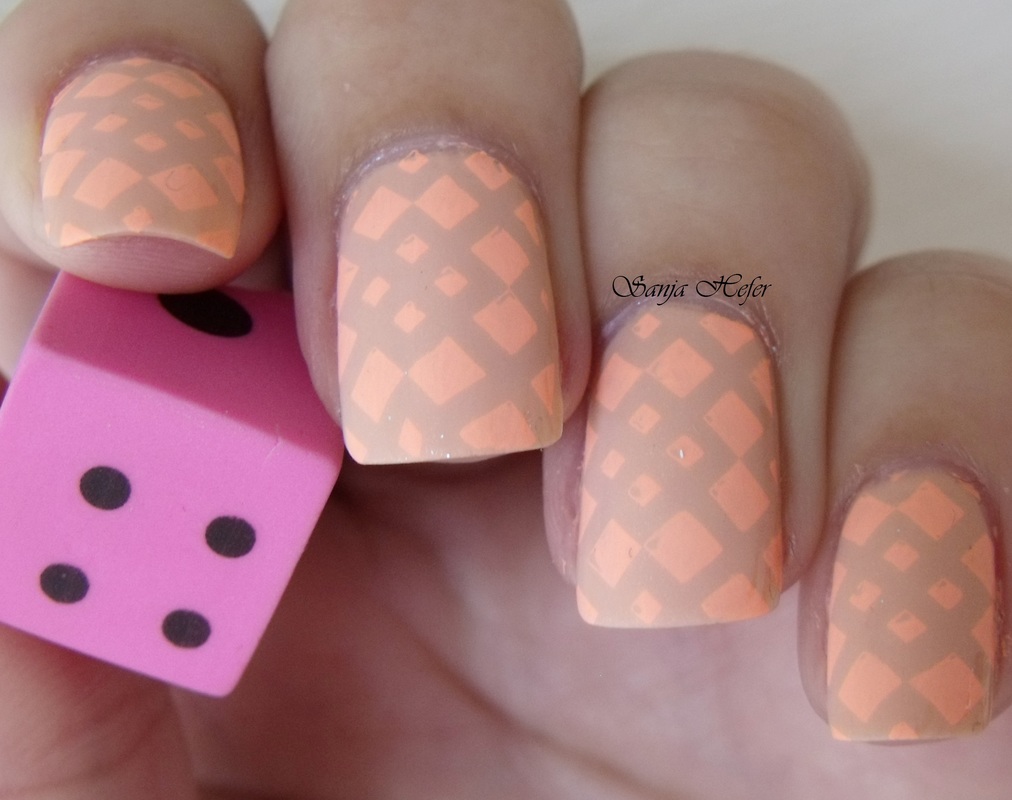
Orange polish is Sally Hansen - Firey Island, and base on other two nails is Sally Hansen - White on. I Stamped images from Dana 6 and Dana 8 plates using Revlon - Espresso, then I filled them up. All finished with top coat.