Today, there are two new items sent to me by Vivian for review from Born Pretty Store.
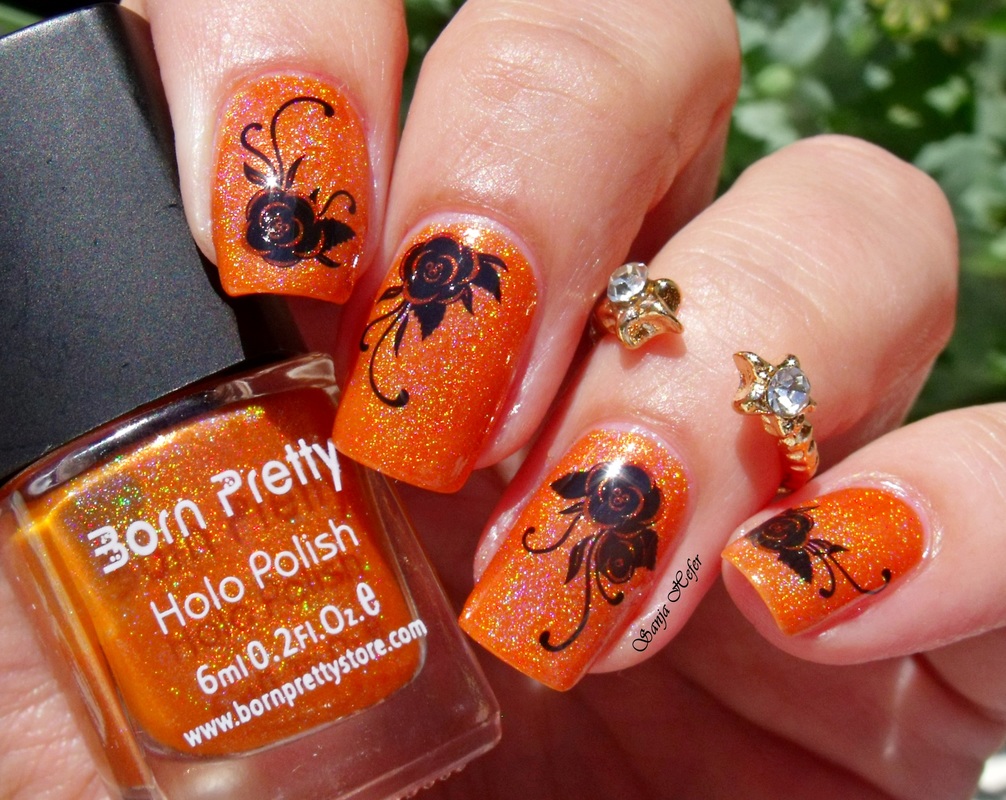
First I will show you item #6403 beautiful linear Holographic polish.
First I will show you item #6403 beautiful linear Holographic polish.
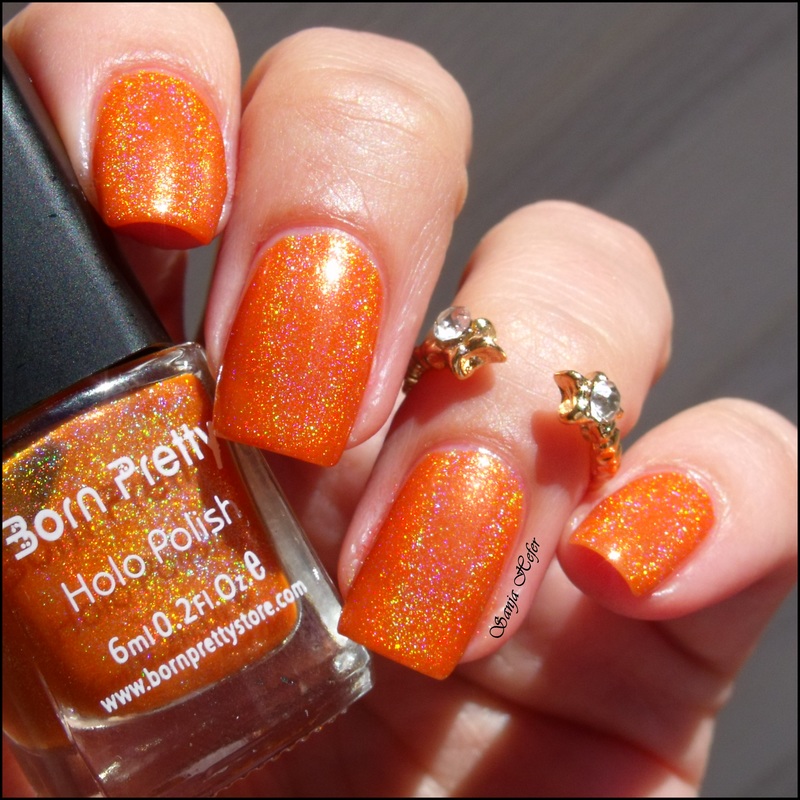
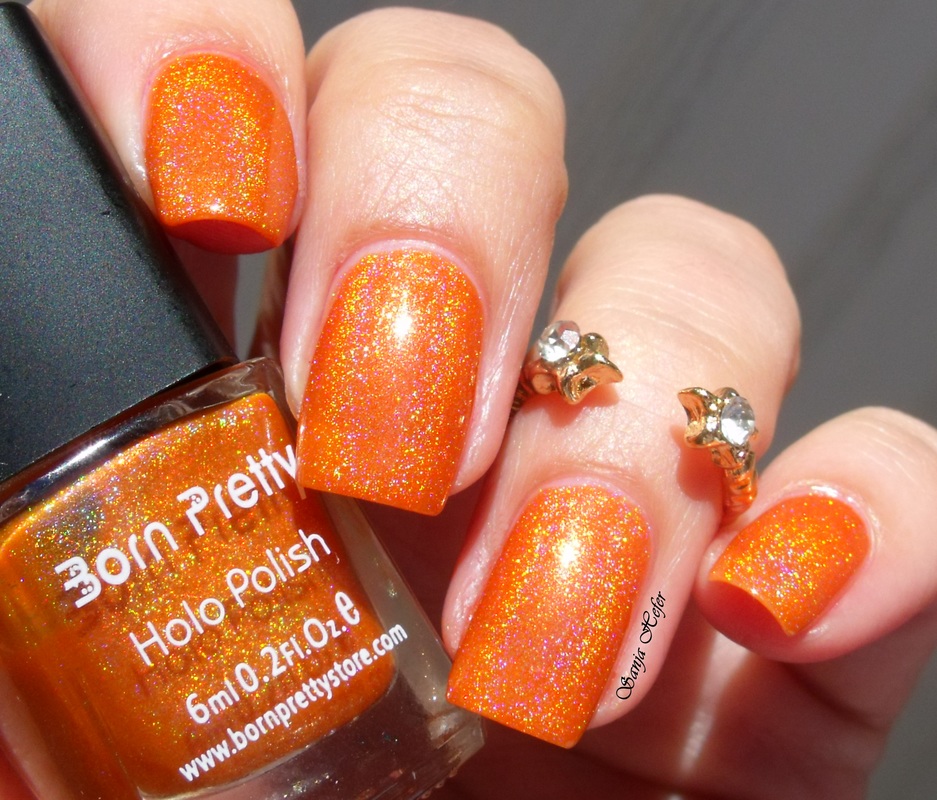
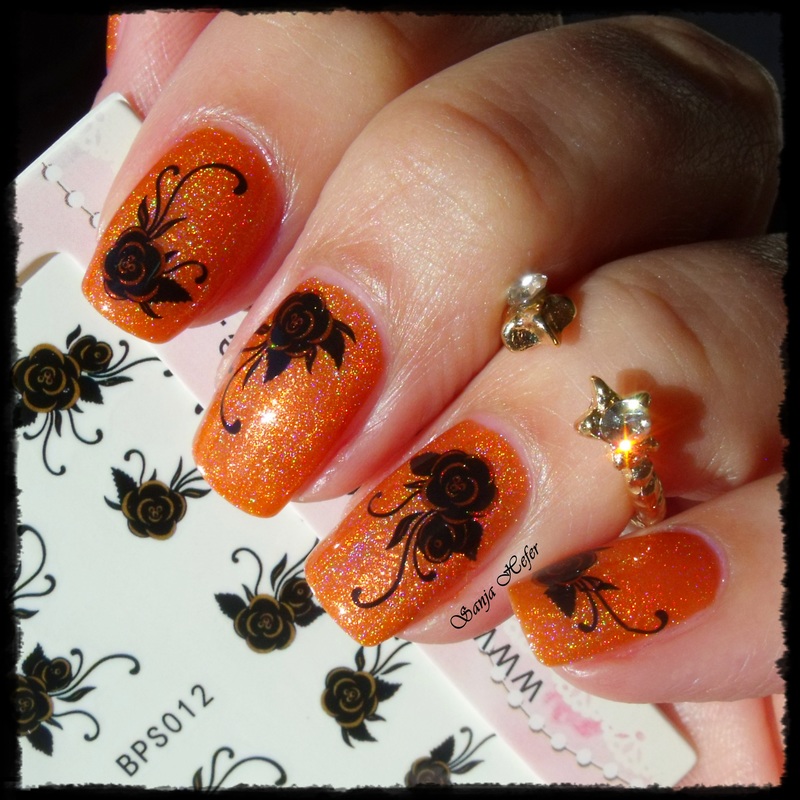
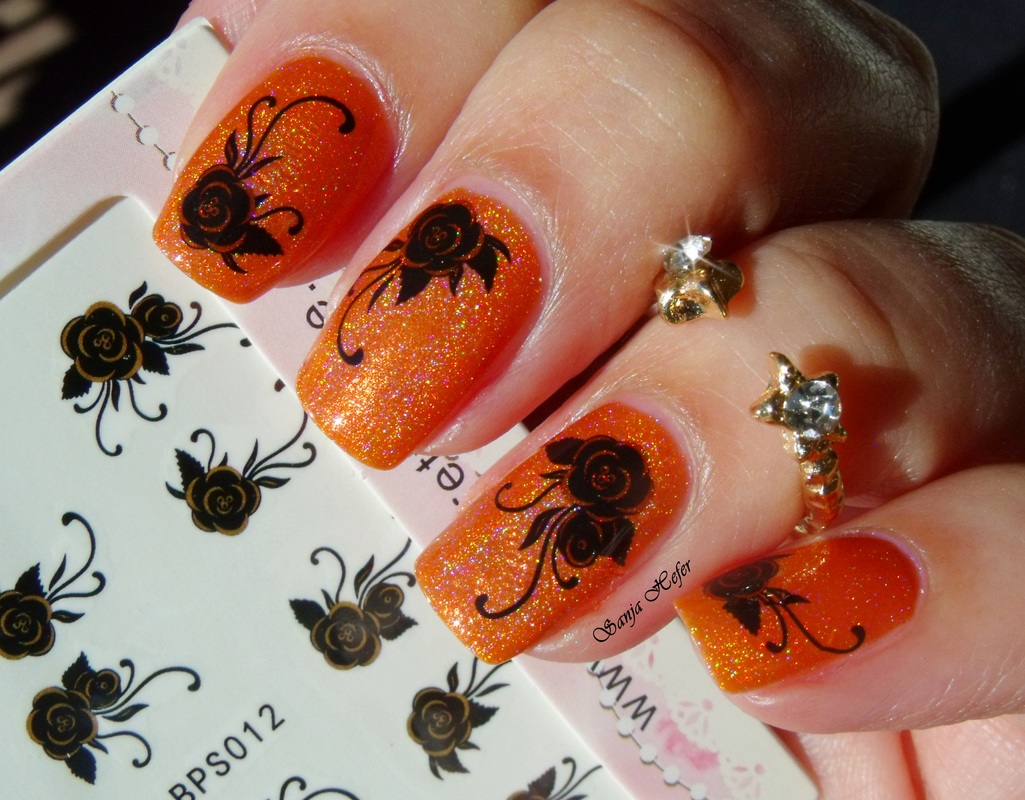
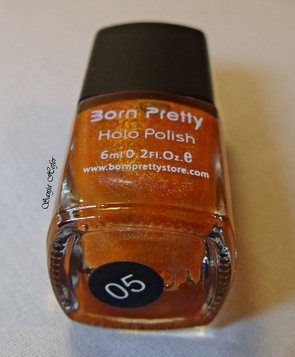 | As you can tell from the photo on the left, color is number 5, and even in the bottle looks pretty. Bottle is small size (6ml) and that is only negative thing I can say about it. When something is this pretty, you want it in bigger bottle, so you can use it more often. Holographic polishes are usually show stoppers, and this one is not exception. I applied two coats for a full coverage, and on photo below, there is not top coat. Polish itself applied smoothly, without dragging (that can cause bold spots), and just look at that holo! It is stunning! I already own few of their holographic polishes, and I did applied some of them over black base, and they looked absolutely gorgeous. I did not tried (yet) to do it with this burnt orange color, I like brightness of it. |
I love to add some nail art to my polish at all time, but from time to time I encounter polish that is just too pretty to be covered up. This is one of those polishes. However, I did got another item from Born Pretty Store for review, and I thought it would look sharp with this polish.
| On the right photo we have item #6443 and link for easy access is added. Those are water decal/stickers, and they are easy to work with. Sheet comes with 20 black rose decals, that are slightly different in size and shape, so you can decide how many of them you want to use, and how. All I did was to cut out square shaped piece from the sheet (decals are shade bigger than they outline on photo, so not to big). Make sure to remove plastic film from the top before you put the selected decal in the water. I learned that lesson the hard way, couple of months ago when I used my first water decal. I left them in the water about 10 seconds or so, and then I tried to see if they are ready. | 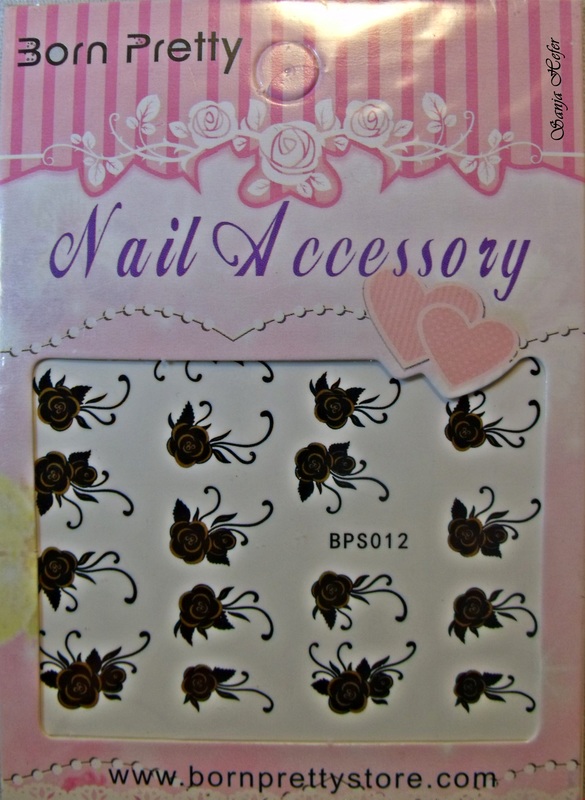 |
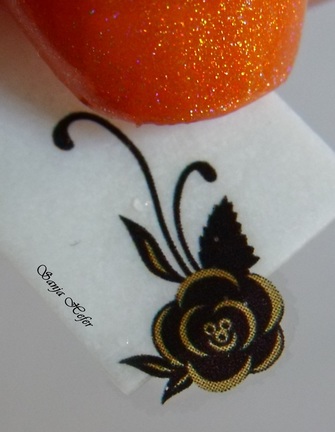 | If decal is ready for use, as you can see from my photo, you would be able to slide it from the backing using the light pressure. For the next step, you can go 2 ways, and I tried both. 1. If you know where you want your decal, you can slide it directly on the nail 2. Using the tweezers, gently free the decal from the backing, and then apply it to a nail in a desired spot. Decals are super thin, and I did have crease or two on some nails due to curvature of them, but I gently smoothed it, and after applying a top coat, none of those were visible. |
Now for a big question. Would I purchase them? Absolutely - they are beautiful, easy to use, no mess, least amount of effort with a big pay out.
They are great when you are short on time, or let`s say when you travel.
Considering that those are smaller than a nail, you may be able to do them with gel enamel, and trap it under the top coat before curing. This just occurred to me, and I will have to confirm this. Something for me to play with in the future.
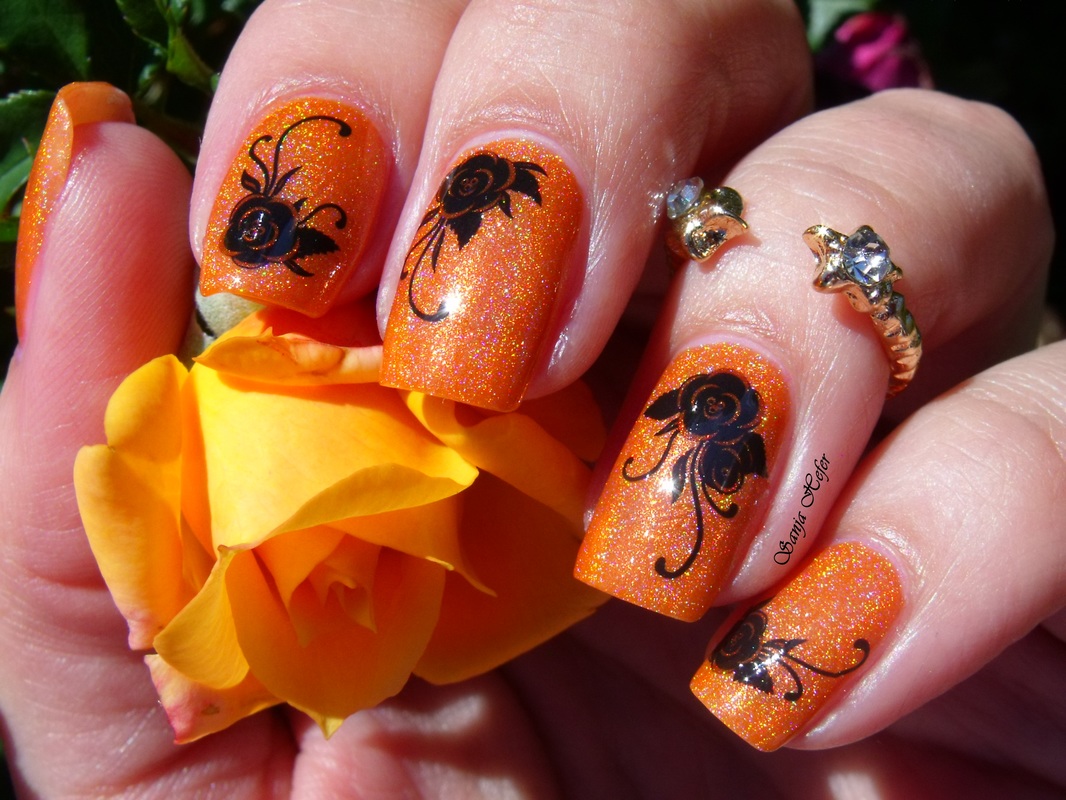
I did not have any black roses in my garden, so this one will have to do for today.
Now, just go ahead and use my discount code SHGK31 for all the non sale items in the store. Thank you for visiting.
*** Some or all products shown in this post are sent to me for a honest review. All opinions in this post are mine, and if I give you misinformation, it was not intended. For all the prices and availability, please check with the store, link provided on the beginning of the blog.